

Napoleonics in My Garden 2020
Bataille Empire Test Scenario
Having spent ages in Lockdown painting my 10mm Napoleonic French army, I have been keen to give the Bataille Empire rules a bit of a go. The rules have a beginners scenario, with two smallish equal forces attacking each other across simple terrain which is intended to give players a chance to learn the basics of movement and combat, before moving onto bigger games and adding the all-important "orders" layer to the game, so this was what I attempted to do one sunny weekend afternoon.
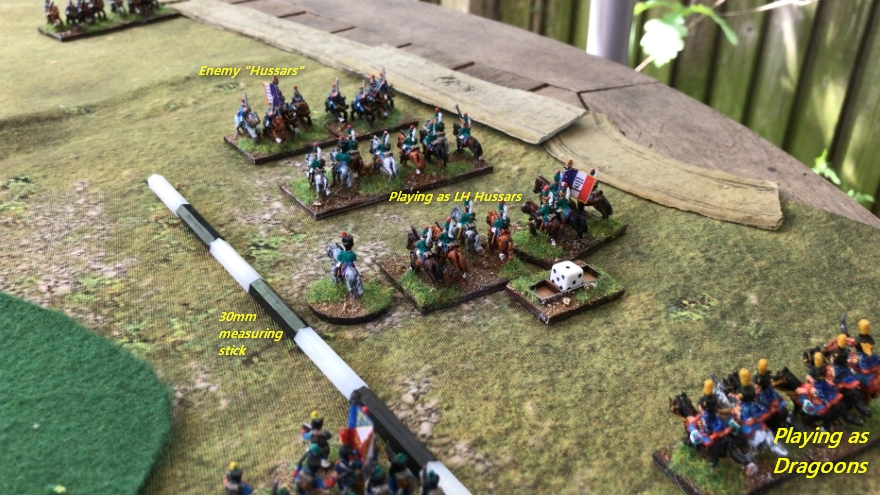
My 10mm French army just about split into two halves with enough troops to deploy both sides in the Introductory Scenario. I had less Light Horse and more Dragoons and Cuirassiers than the scenario asks for, so for the purposes of the game I used Hussars as Dragoons on each side, and Dragoons and Cuirassiers as Light Horse
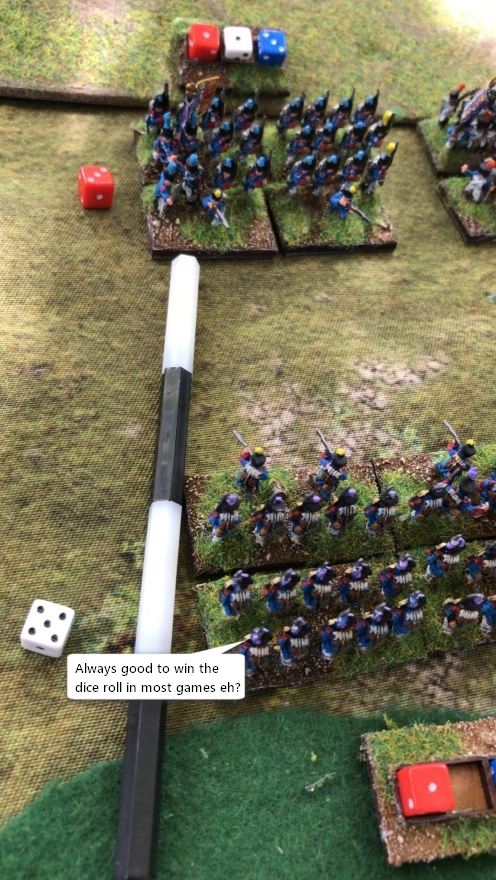
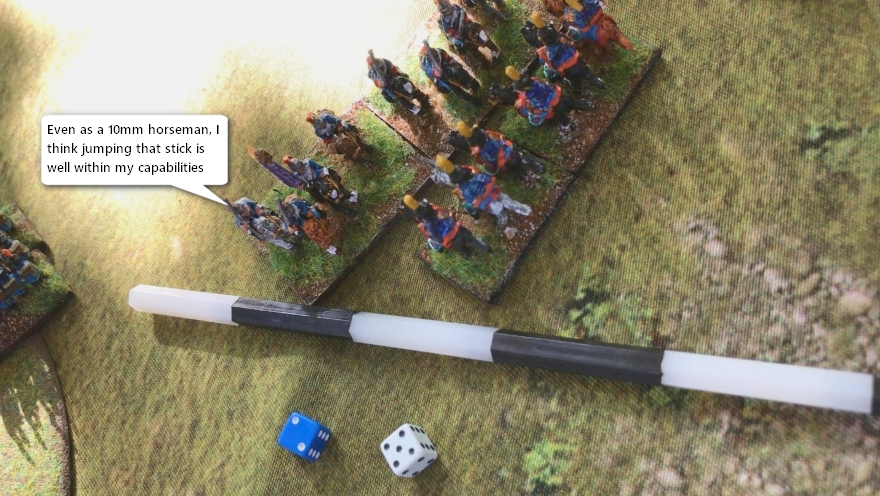
The game was set up on a standard ADLG 80-120 mat, and I used 30mm MU move distances using some sticks I'd made from 30mm electrical spacers (that's an affiliate link to eBay UK searching for 30mm spacers. If you click it and then buy some eBay shares some of their commission with me).
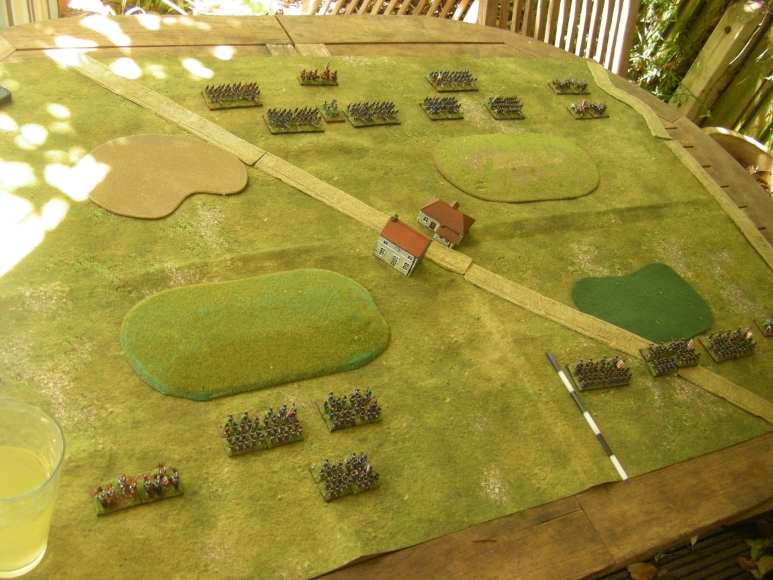
The Introductory Scenario is not supposed to be an interesting game in itself as both sides just march on and have literally identical forces. Instead it allows you to walk through the core mechanics of movement, shooting, combat and morale tests. The rules recommend playing a couple of games at least without the Orders mechanics too, as they add an extra layer of complexity that isn't helpful when learning the basics
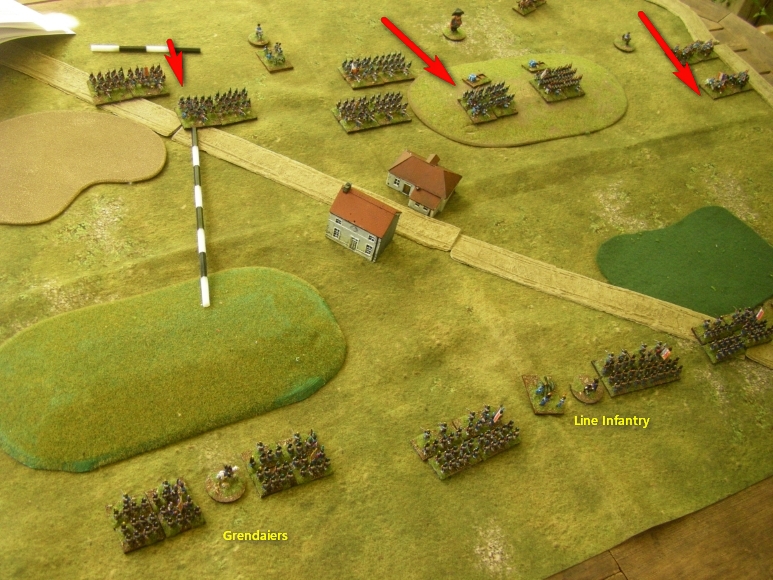
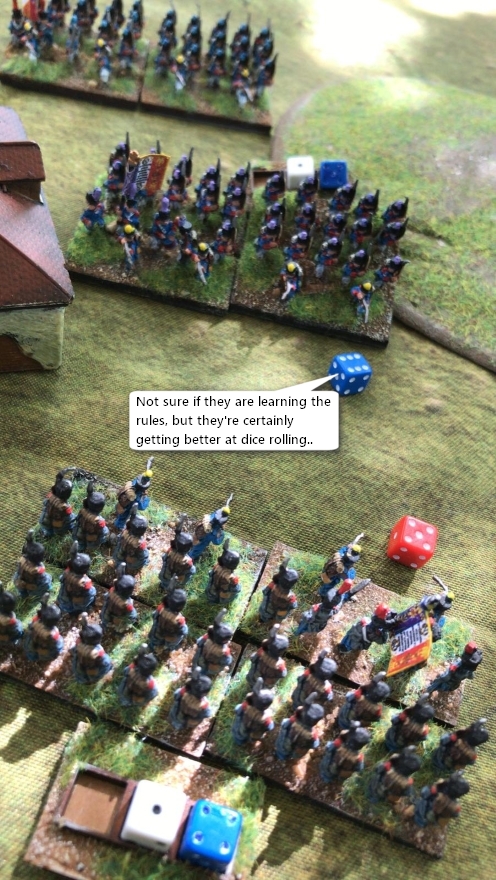
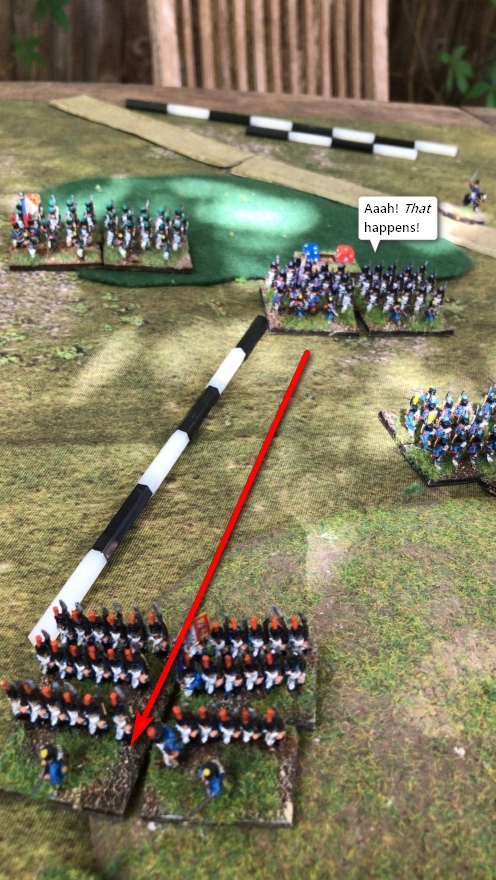
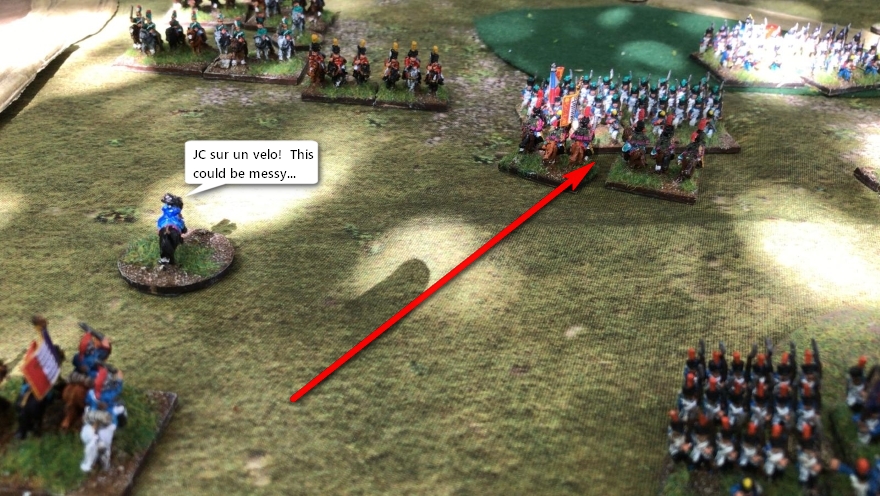
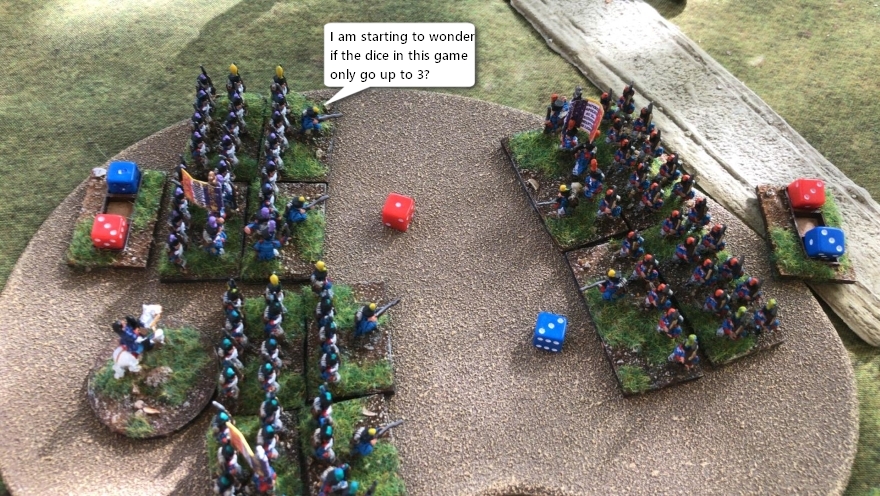
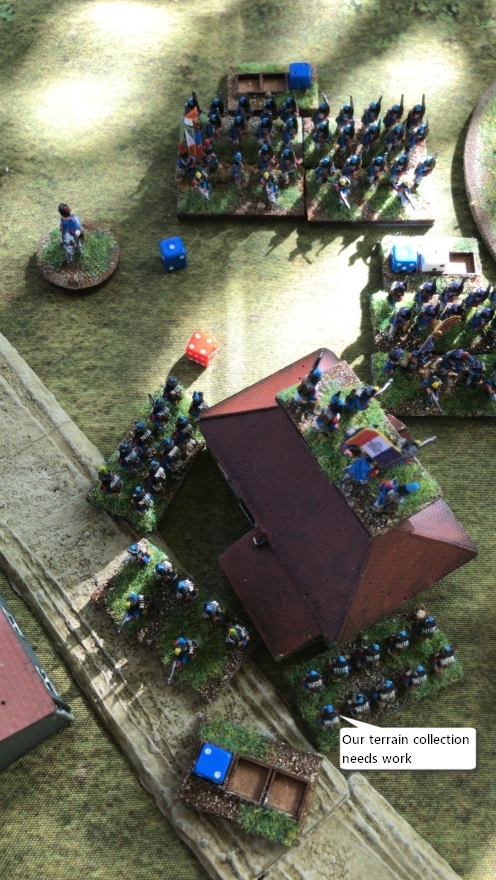
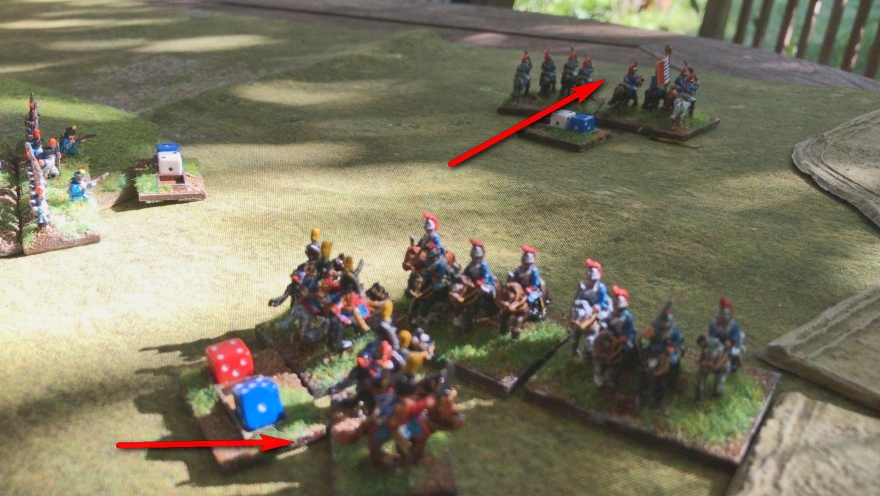
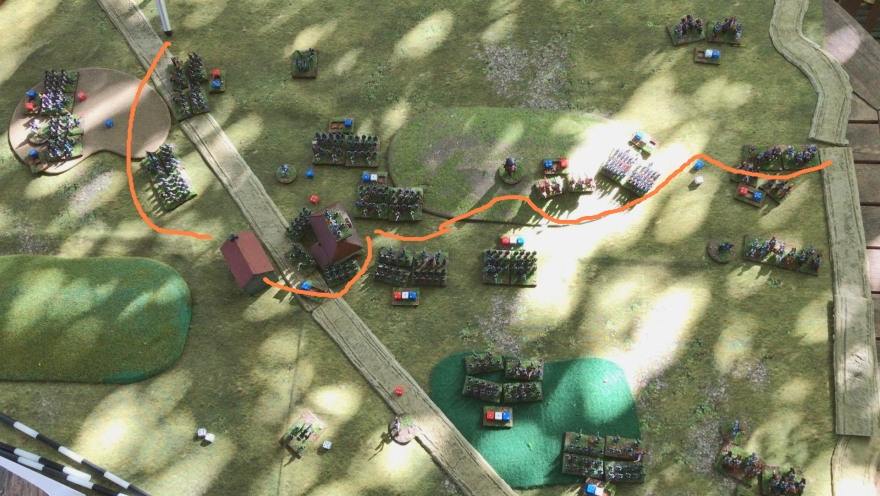
In my first moves the Blue army at the top of the screen under Gnomepoleon moves up with three commands / generals all rolling pips to move units forwards. Some of them pick up blue markers for having done more than one move (aka "march moves" in old money). On the right of the shot the 'Blue' Light Cavalry have raced ahead of their friends and are somewhat exposed potentially
In the first turn by the "Green" side their cavalry charge home against the demonstrably over-extended Blues.
My Very First Combat! It's a dramatic mutual cavalry attack, in which the Blues horsemen overturn a -1 factor (for having charged too fare and ended up out of command) with a 6-4 roll, leaving the Green unit to take a hit and fall back behind its support. Clearly Supporting units are important, as otherwise the fall-back would have been much further!
The Green Grenadier Regiment have made 4 Operational Moves (as they can because they are quite good B class troops) to outflank the Blue forces.
Blue moved first and hadn't actually spotted Operational Moves in the rules when they all advanced !!
Blue Main Regiment of 4 units rolls crap pips. That's not enough to react to the Grenadiers so instead they have just pushed forward a couple of units in the middle
Bataille Empire hint - Operational Moves seem like you can go miles in a single turn - but it does have to keep you outside Tactical Distance of all enemies, which is 24cm. On an 80x120 table I can already see that this is going to limit you to only a small handful of these Operational moves in reality
Blues also roll weak pips for their central command under the leadership of Gomepoleon, and so can't really push their infantry up to support their retrospectively rash cavalry attack
The two lines of infantry stare at each other, check the rules and discover that shooting range is just 6cm - so they are still miles off being able to start rolling dice and blowing each other away.
Green Grenadiers expand into line and move up. Blue Line Infantry both fail Maneuver tests so do not reorientate (yet)
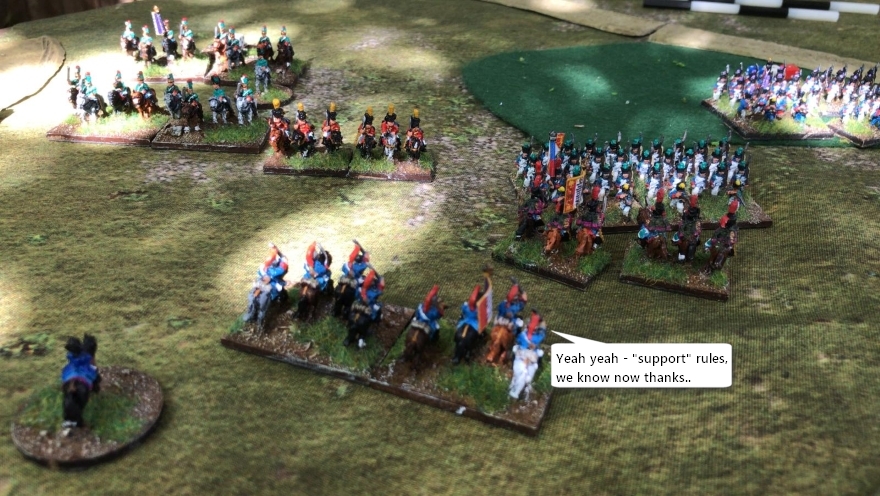
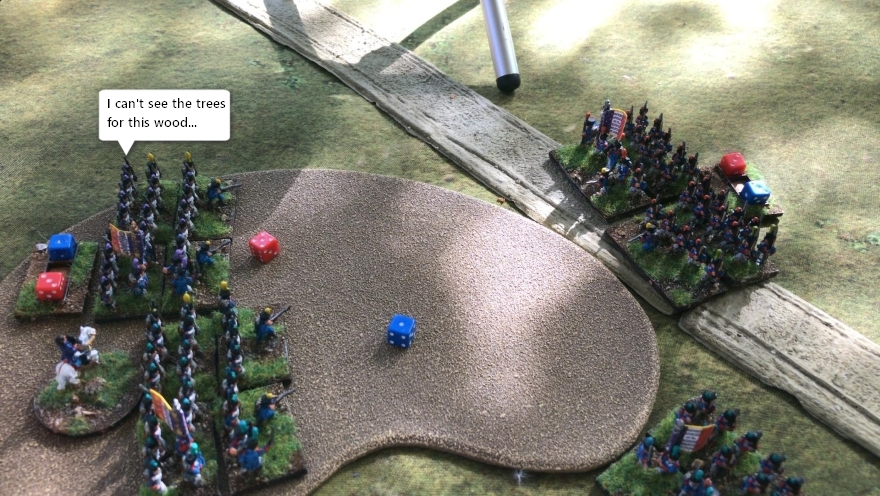
Green I cant believe they aren't Hussars move up, and invite the previously successful Blue LH to Retreat back to safety away from the heavier Green amost-Hussars-but-actually Dragoons
The retreat is partly as they have now worked out they should have lost the combat due to the recent discovery of the Support combat modifier on p47, having earlier missed it on p59 where it's not quite so obvious
Most of the Green Line Infantry move up to shooting range of the Blue Grenadiers (as their commander wants to see how that works)
The first ever round of fire combat and the Blues roll badly despite having +1 to their shooting due to a supporting unit
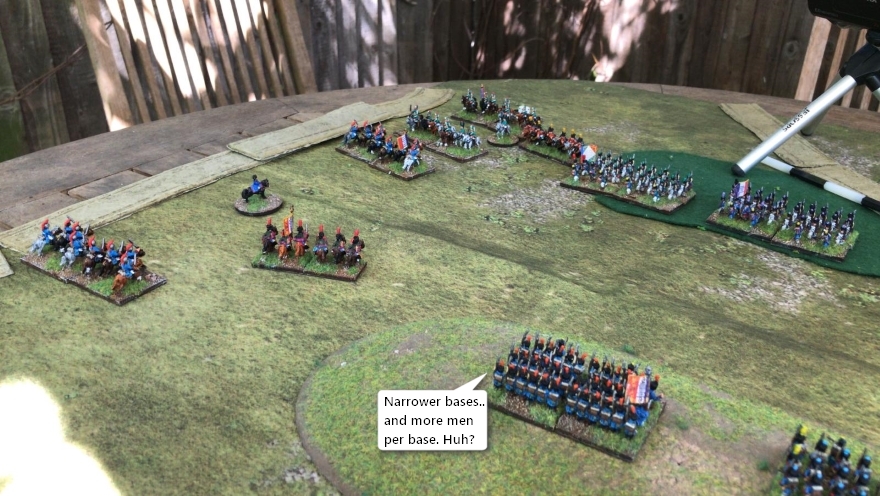
(By now its started to become apparent that the fraught decision to go with 40mm wide or 30mm wide basing really makes literally no difference at all that I can see so far.
One unit fires or fights one unit, up to two others within 2MU give a couple of additional pluses for "support" an extra bit of width is never going to matter)

Firing resolution (after I've had a very nice bacon sandwich on ciabatta bread with avocado. But that's not important - it's not in the rules either).
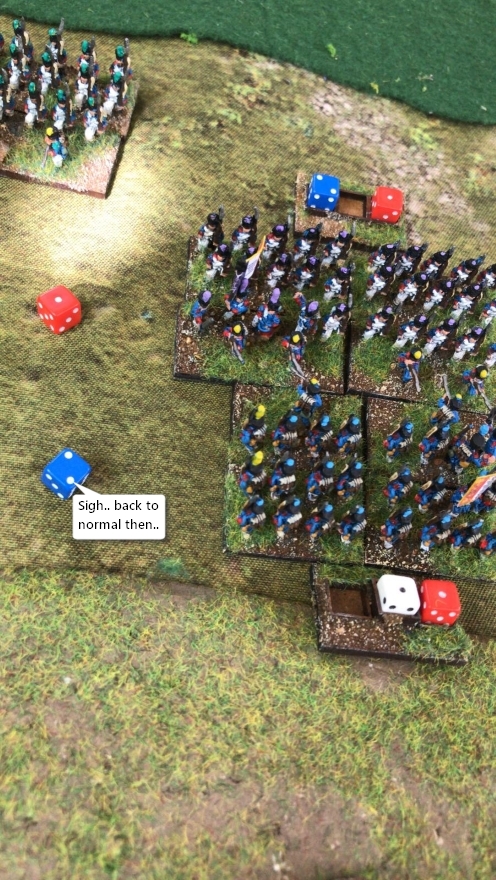
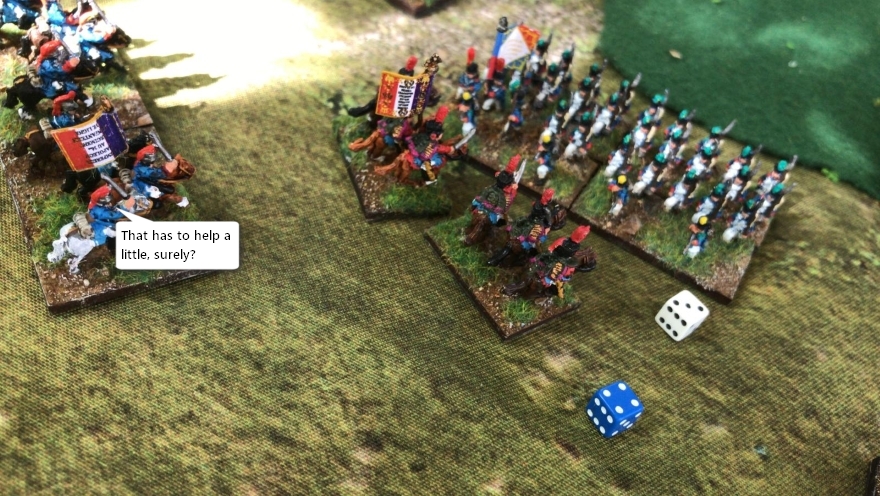
Both units have an action marker (blue die, used as a marker) Both have an attrition (I'm using the same convention of a red dice to mark Attrition as before, which is worth half a hit). The Grenadiers at the top have a whole hit, which I mark with the pip score on the white dice in the middle of the frame of 3.
Second fire exchange. Both roll 4, +2 for infantry in line, no supports - both take 1 hit and an action marker
As this is an "exchange of fire" between two units there is a morale check for both of the units who exchanged fire - I guess this allows the different morale grades to start to take an effect even in an evenly balanced exchange of shooting that causes simiar losses to both sides?
That also means another flick through the rules to find the right page for the first Morale tests

Grenadiers roll 3. They are E4 Grade so add 4 to the dice to end up at 7, then add 1 for flank support to 8, but deduct 1 for the hit = 7, which is a pass !
The Line infantry roll 5, add 3 for being L3, 2 for two sets of flank supports and end in 10, a pass as well
The next set of guys also love it
Gnomepoleons turn to drive forward with the Grenadiers. He orders the fresh unit to charge the enemy Line infantry who have an attrition, as he's an aggressive little Gnome and clearly is not fancying extending the firefight. The enemy line infantry stand (to find out how that works out for them)

The Grenadiers flick through the rules, realise that this is not Ancient Warfare where charging in is encouraged, and compound that with losing the die roll by 1 as well
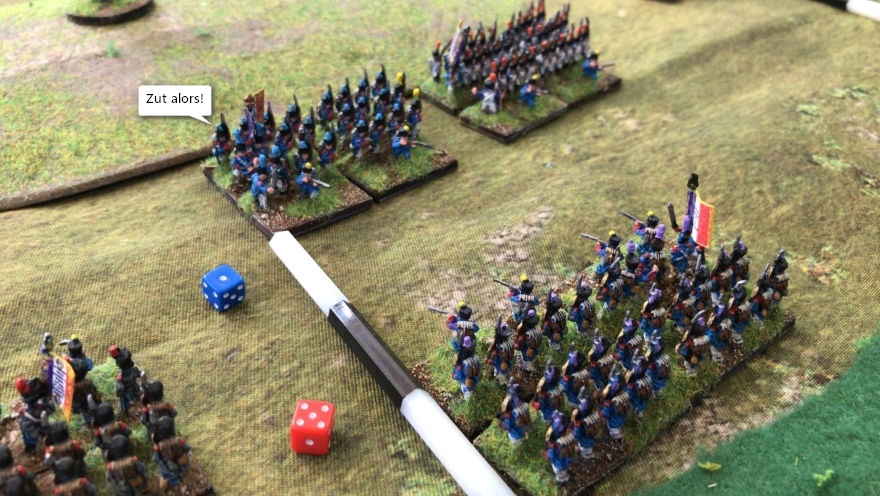
The foolishly charging Grenadiers are at +1 for being in line as they attack, +1 for better morale (E4 grade vs L3 grade) + rheir dice roll = 4.
The Line Infantry are +3 standing in good order in line vs Infantry (Zut Alors!!), +2 flank supports + dice roll = 8. A difference of 4.
Gnomepoleon's Grenadiers must Flee 6MU ! They take 2 hits and an action marker. The Line infantry can opt to pursue
The Line Infantry are now overly cocky, and pursue forward into the other Blue Grenadiers
Their supports also advance as per the bullet point which I only just found to allow them to do so on page 61
Line infantry are shocked to realise they don't get a charge bonus in pursuit. That'll teach them! They are also embarrassed to only now remember the +3 for standing in good order to receive a charge that allowed them to win the first round so easily
The Line Infantry start on +2 for support, +1 enemy with more losses.
These Grenadiers are now +3 standing to receive in good order, +1 better morale.
Dice make that 4 : 6 to the Grenadiers
The Line infantry retreat 4 MU and take a hit, become Disordered. The Grenadiers inch forward smugly, feeling vindicated in their higher morale. Everyone has a blue "action" marker
No one can now shoot in that division as all the units on both sides have already done enough dramatic fighting stuff this turn
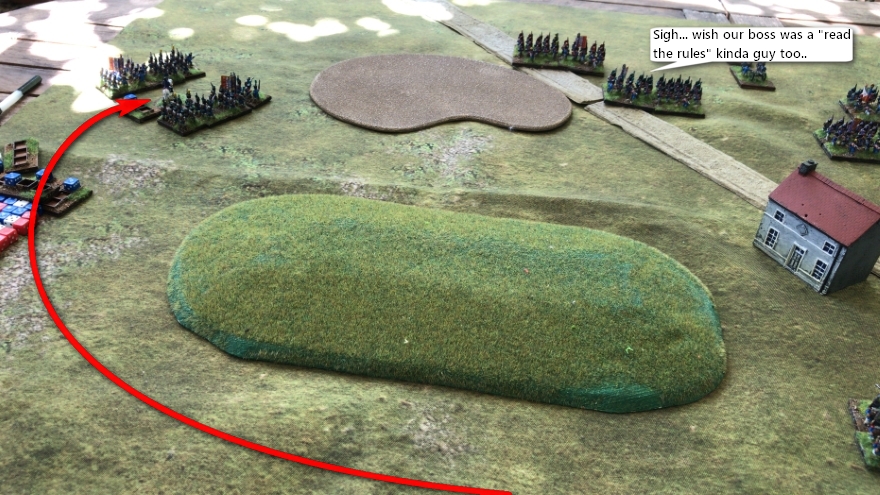
The other Regiment/Division thingy under the command of the third Commander swings its men round to face the Green Grenadiers approaching from their right
One unit drifts forward as they turn, and threatens to take the objective (the hill) as well
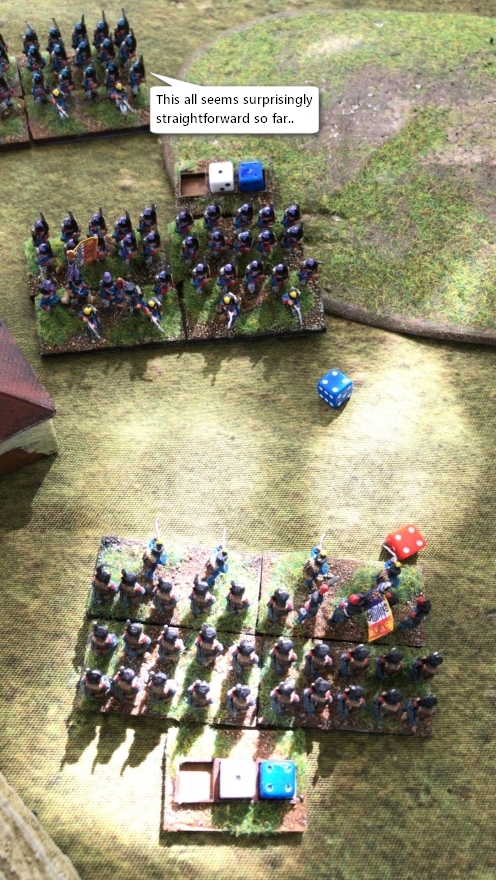
The units in the middle just exchange fire, as no one here had pips to move. The Greens take an attrition (red) marker with a score of 4 for the Blues (3 dice + 2 in Line -1 hits carried)
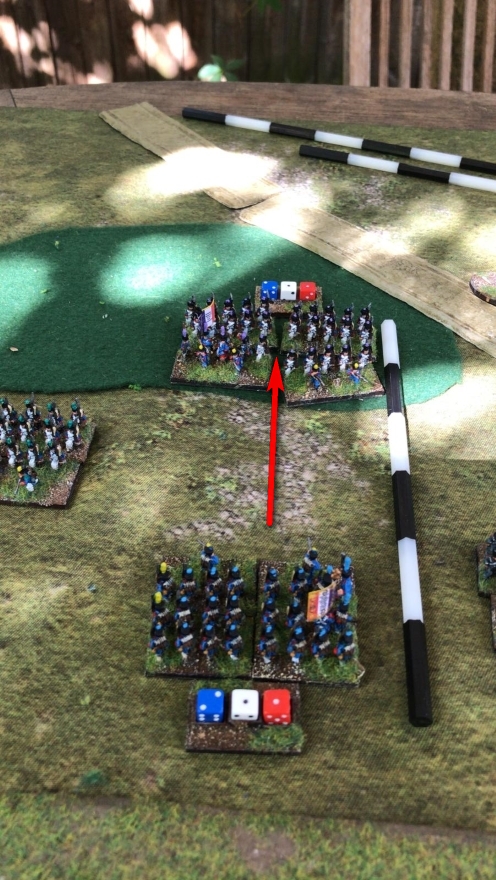
The still-confident Blue commander decides to hurl some Dragoons dressed as Hussars at an enemy foot unit to see what happens.
The Green commander declines to countercharge and intercept with his own Not Hussars But Dragoons as he's also curious to see the outcome of a cavalry vs foot combat

The Dragoons are +2 MCv Charge, +1 better morale (4 vs 3) and +1 because they've just remembered to take a unit in support with them
Line Infantry are +4 as both flanks are secure (Merde!).
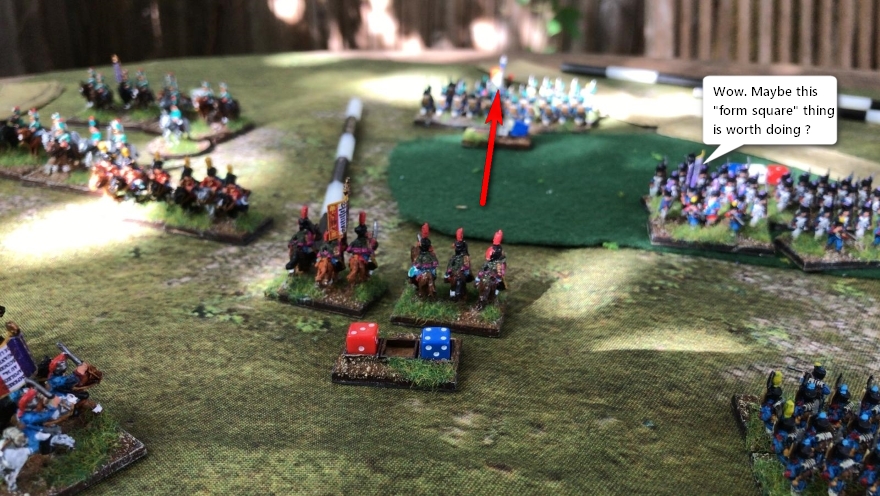
Bataille Empire hint - I guess really I should have tried to go into Square, as thats sort of what you do in Napoleonics isn't it? To do that however the infantry unit would have had to take, and pass a Manoeuver Test (p40). As B Class troops this would have been passed on a 4 or better, modified by +1/-1 depending on whether the Cavalry started closer than 4UD or further away than 6UD. If they'd failed the test they stay in line, become Disordered and the Cavalry would get an extra a +2 in melee - ouch!
If they'd passed, and formed Square the Infantry would get a +7 in melee though - enough to probably persuade the Cavalry to try and also take a similar Manoeuver Test to try and halt their charge (assuming they started at least 4UD away). So, pretty scary all ways round!
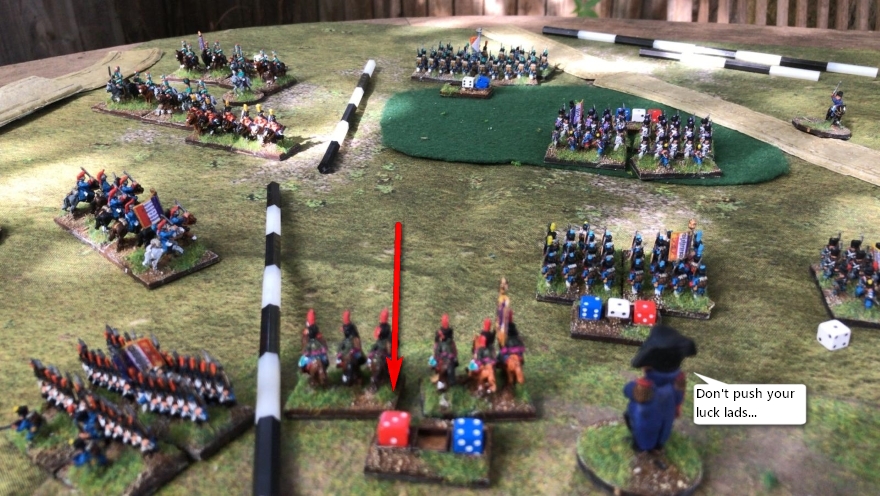
So that's all on the dice ...
The Blues Dragoons dressed as Hussars win !
The Infantry take a Retreat Result, which is upgraded to a Flee result for losing to cavalry in the open (after I flick over page 62 and discover this, as it isn't included on the outcomes table on p57 as you might have thought).
They take 2 hits and fall back 8, but the Cavalry can still pursue and catch them after 2MU if they wish (if I decide to class the woodland as Light Cover, otherwise the foot will escape into the proper cover of a real wood)
I decide that it is proper cover, so the infantry skitter away to safety
Bataille Empire hint - This sort of mechanic, where the effectiveness of various troops against each other ends up being a combination of their basic fighting ability and the range of combat outcomes specific to each interaction - seems familiar from ADLG, where small margins on the dice + factors can generate additional hits as the combat outcomes (like, mounted into Medium foot, or Impetuous troops winning big and doing extra hits if they win on the dice in the first round). In BE this concept strikes me as being a much bigger part of the way troop interactions are designed and achieved
The Hussoons (tm) are loving this, but have learnt a little from the game so far, also so they fall back 6MU after their victory
(8MU standard fall-back, less 2MU for the about-turn at the end of their move as they are B class and so have to lose 2MU for a turn)
Bataille Empire hint - I only have one army and a finite amount of troops to make up this introductory scenario I'm using my Hussars as Dragoons here, and the rest of my cavalry (Dragoons and Cuirassiers) as Light Horse. The very distinctive Hussar figures are each side's one unit of Dragoons, hence giving them the temporary nickname for the purposes of this game of "Hussoons". Sadly it has taken me most of the game to come up with this dreadful pun
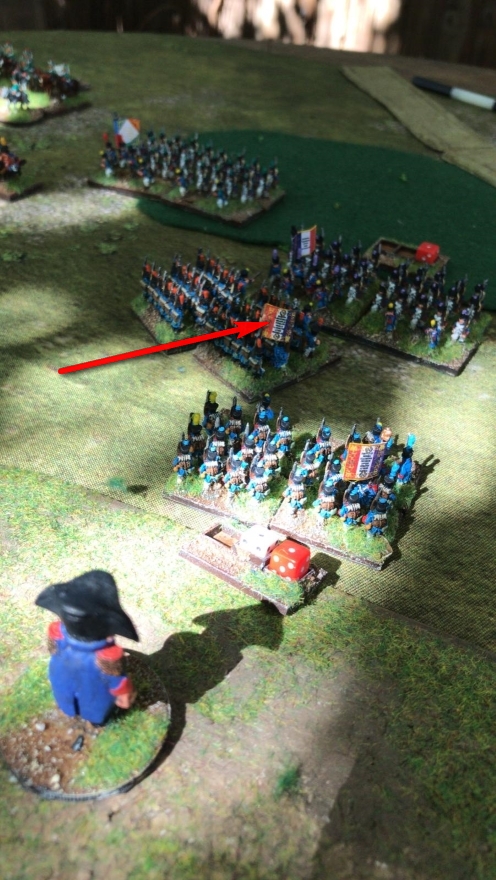
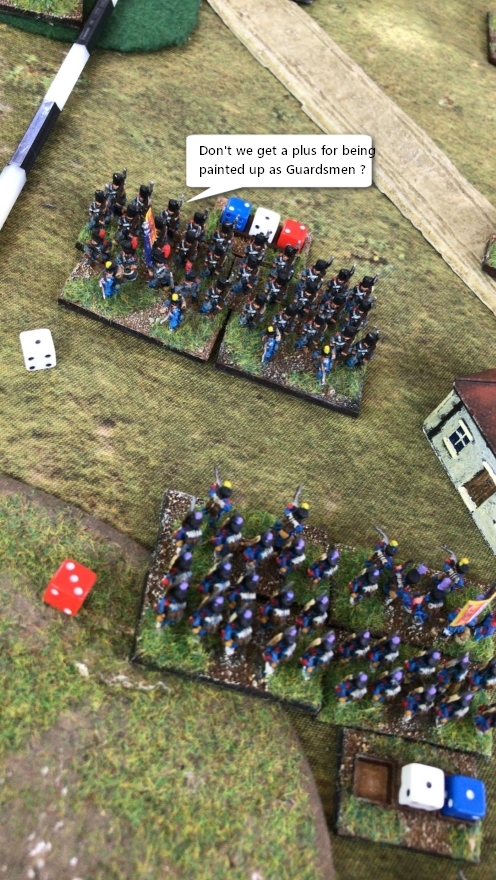
Green Turn. The fast-moving attempted-Flanking Grenadiers decide to advance and gang up on a Blue Line Unit.
Both sides fire on a base factor of +2 (Line), -1 (in terrain), but the Grenadiers get an extra +1 for support
Crappy dice all round and so both units of shooters get an attrition and an action marker each. (In case I'd not made it clear before, shooting is not an opposed roll, both units are rolling against a target number, the higher they score the more hits they inflict on the shooting outcomes table )
Both units shoot at each other, so it's classed as a Firefight and they both test Morale again
The Grenadiers love it, but the defending Line Infantry end up on 1 (die) + 3 (morale) -1 (out of command) = 3, a fail, and so they are disordered and must fall back 2MU. This takes it out of the (admittedly low rent, but hey, it was a bit breezy and trees might have blown away) terrain.
The large Line Infantry Command in the middle of the Green Army is now kinda stuck as most of its troops received activation markers by engaging in firing or combat in the Blue side's turn, and so they can't proactively fire (but they can still move - I think)
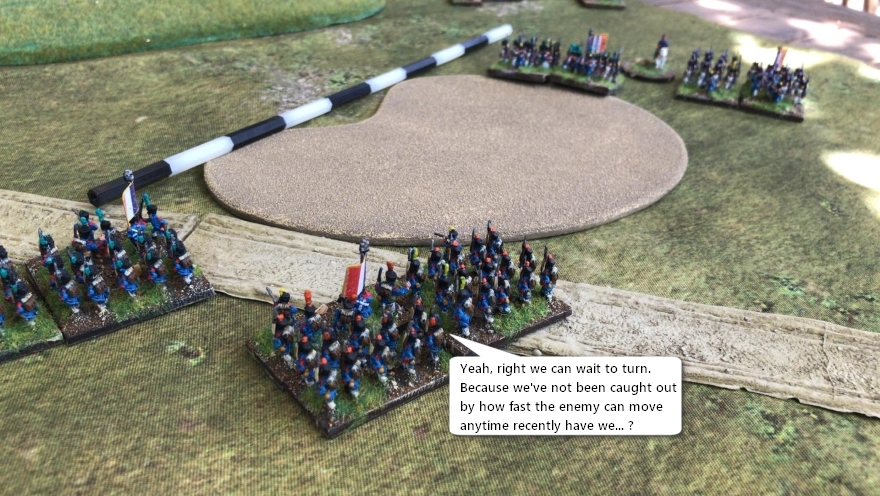
Bataille Empire hint - As the Blues are moving first every turn in this basic, orders-free intro version of the game I now start to wonder if Initiative should be calculated each pair of moves if you are playing without Orders?
But then I realise that this isn't supposed to be a "lite" version of the rules, its instead a suggested way of playing to learn the core mechanics - so clearly this is showing just how important "Initiative" will be in the actual game, where I've already read somewhere that it can change from turn to turn !
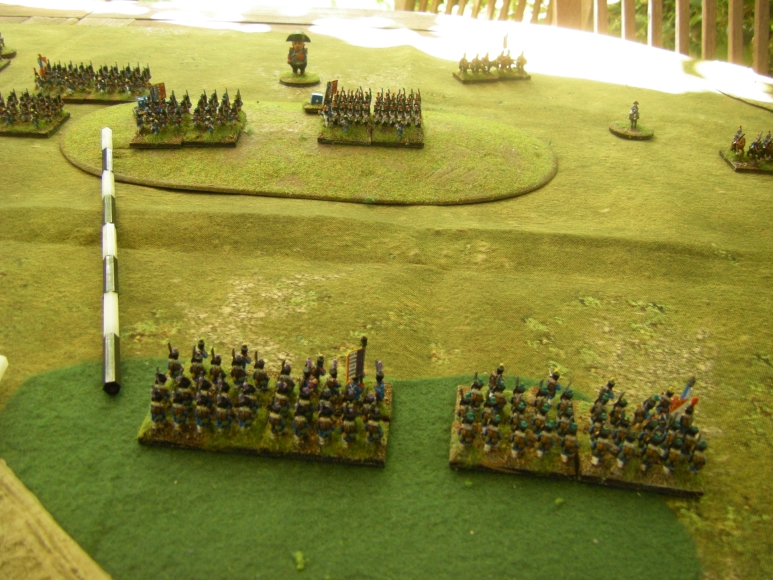
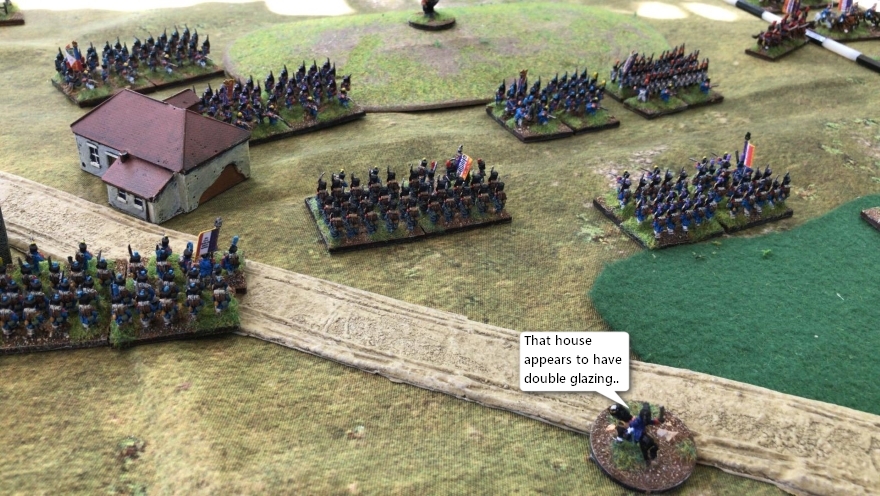
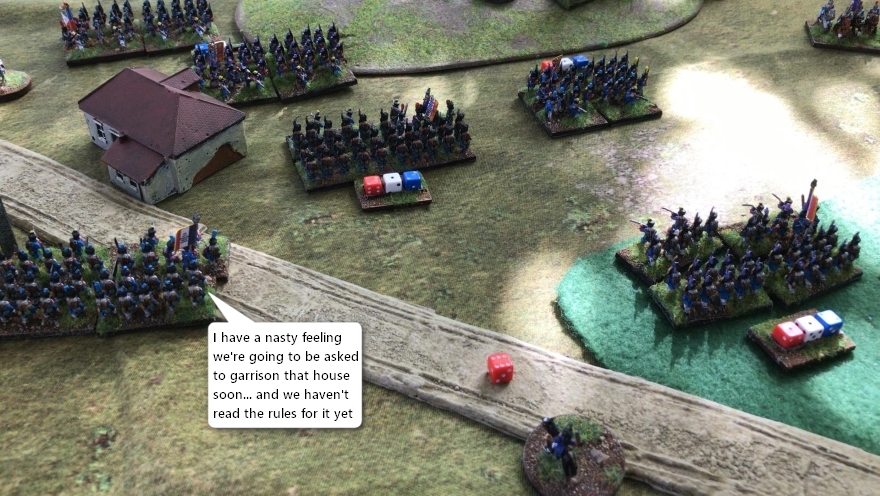
The Green Line infantry move into one of the objectives.
I immediately realise I will need to make some templates for my houses to stand on (as well as to get some proper non-WW2 houses) so they can actually be occupied by infantry
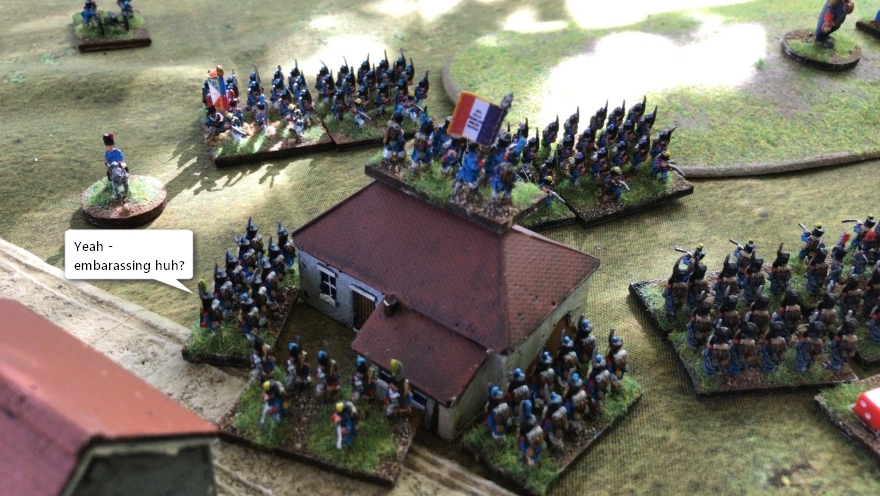
A Blue line unit fires at the building to no effect with +2 Line cancelled out by -2 medium cover.
The return fire is at factor 0 (from buildings), 4 for die roll = 4.
This would normally be an attrition but here that shooting is less effective because it's from a building. In the rules this is done by having a separate outcomes chart for both skirmisher fire and/or shooting from buildings. So, again no effect, other than that everyone gets an action marker
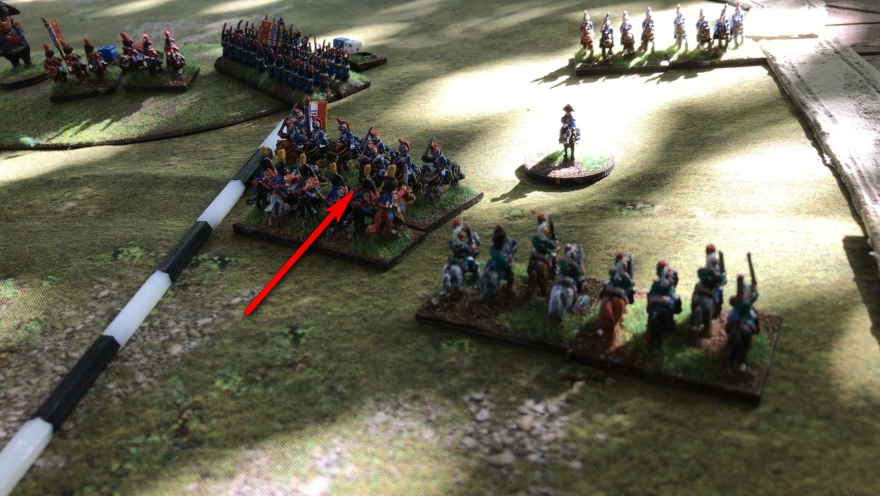
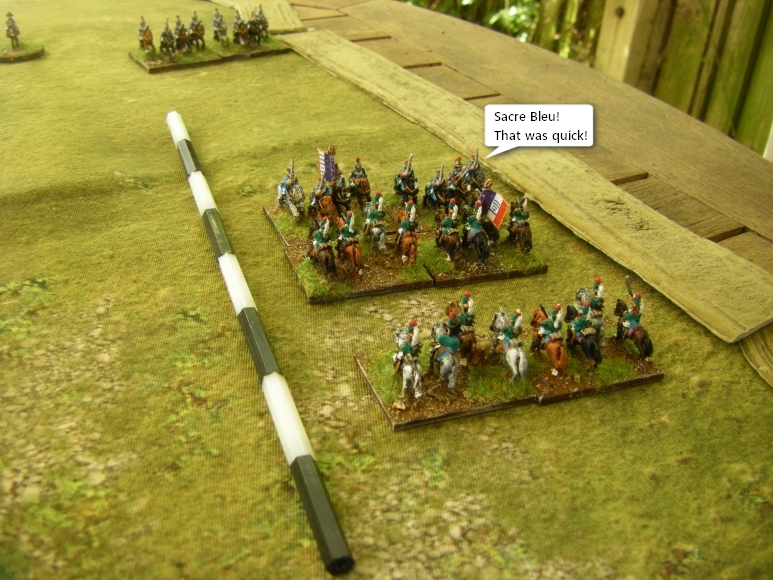
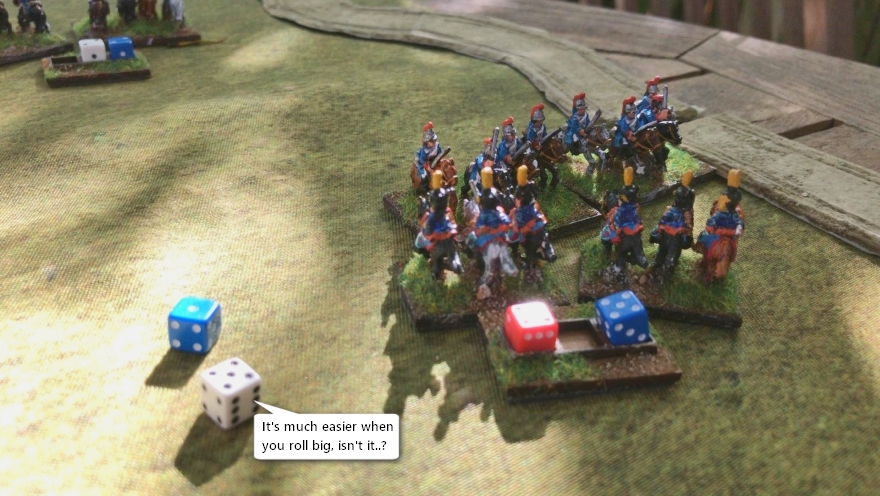
The Green Hussoons charge the Blue LH.
The LH can't evade as they are within 4MU, and reactions only happen after the charger has moved half their move so hey are hit by the time they can react.
These Hussoons (TM) remember to drag their supports with them too in a rare display of learning the mechanics and acting upon them mid-game
The Hussoons (TM) are +3 (+1 for heavier weight, +1 for better morale and +1 a supporting unit) and they also win the dice by 3 as well !!
Bataille Empire hint - The "+1 for heavier weight" here is me taking shortcuts - the reality is that Heavy Cavalry get +3, Mediums get +2 nd Lights get +1 when charging - but in a Medium Cavalry vs Light Cavalry melee like this that basically works out as a net +1 for being heavier
The LH take 2 hits and flee back a vast distance to the rear.
The Hussoons (TM) then pursue, and choose to hit another LH unit within 4MU, catching them very much by surprise!
They are at a net +2 this time as their "extra weight" doesn't count in a pursuit charge, but they do get a separate +1 for pursuit anyway. They then win 5-1 on the dice to really rub it in !
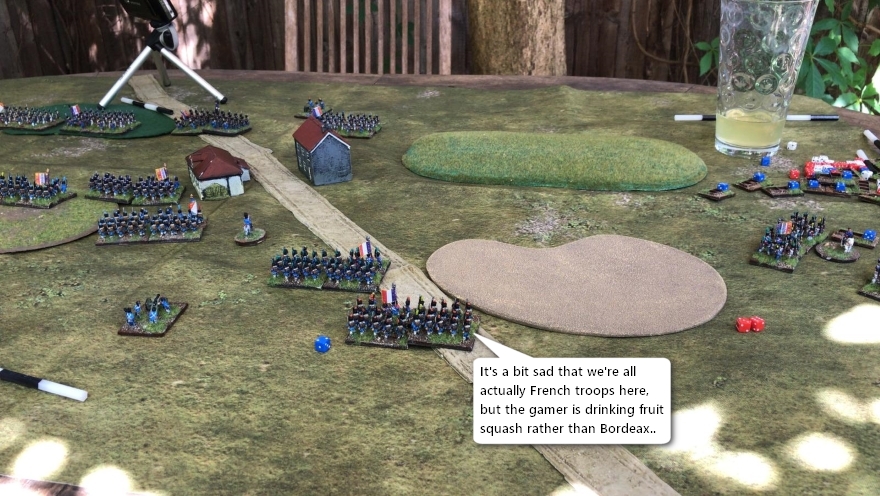
And with that bombshell it's time for tea and I call it a game over at 5pm.
Post Match Summary
 This was a surprisingly straightforward experience, and although my gorgeous hair got touseled by having to riffle through the rulebook repeatedly the end result was probably a win for France, so that is always a result
Toy soldiers moved around, things went 'bang' at the appropriate moments, and having a good cavalry reserve seemed to be a great idea as well so I think the game has been well designed to reflect the sort of tactics which I think are brilliant, which is great.
Perhaps a real opponent less compliant than myself will prove a sterner test, and I am puzzled to see what the Orders add to the game but all in all a decent start
To second what Hannibal has said, the mechanics flowed pretty clearly and allowed me to push lead around without too much head-scratching, roll some dice and generate some outcomes.
What was very clear indeed was that the vexed issue of base widths (my troops having a mix of 30mm and 40mm bases) made absolutely no difference at all to either side. Combat and Shooting are both just one unit on one unit, and supporting units can just be close by or even behind so there's really no reason to worry too much about 30mm or 40mm width - or even 80mm Blucher widths if you can come up with a plan for marking when units go into Square of Column
Having played once I think next time I'd be trying more of the Napoleonic flavour, with units in column and going into square as well - but this was my very first time shoving Napoleonic lead around at all, so honestly I was still at the stage of learning that this wasn't ancients with more complicated uniforms.
Orders as well will be quite impotant I can already see - the game is playable as a learning experience without them, but even so a bit of fudging is required as there are certain options and factors that are linked to orders. Next time I'll give that a go too maybe ?
That's the end - so why not go back to the Match Reports Index and read some more reports?