

Roman Era Gaming in Central London 2016
Dacian vs Late Romans
Game 3 Dacian vs Early Germans
With one somewhat unexpected positive result under their belts, the Dacians found themselves in an even more classic matchup - Mid Imperial Romans, with square shields and everything!
The lists for the Dacian and Late Romans from this game, as well as all the other lists from the games at Central_London can be seen here in the L'Art de la Guerre Wiki.
The battlefield had also panned out as an interesting setup, with a river on the Dacian left and plenty of woodlands in the Roman deployment area - ideal territory for an ambush on the Italian legions as they emerged out of the forest. Catching them on the march would have been good, but that's a different set of rules, whilst here the Romans had managed to find time to deploy into battle formation and await the onslaught.
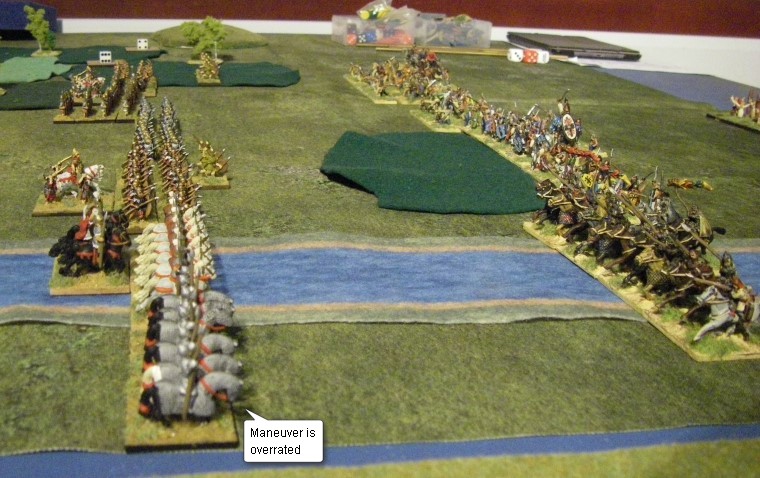
The river had turned out be entirely dry, allowing both armies to extend towards the very edge of the board - and both had put their cavalry on that same flank. With the Sarmatians actually deciding to start this game, and seemingly everyone happy with the matchups on both sides the two lines of troops closed rapidly.
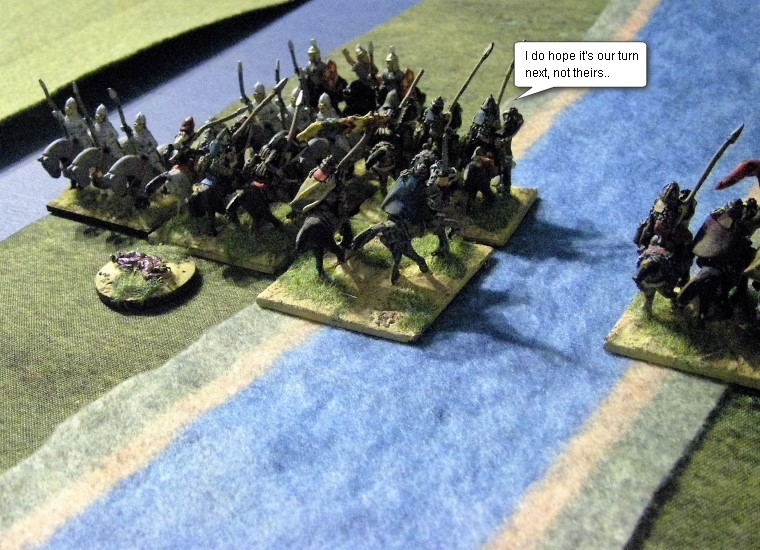
The Dacians take on Rome!
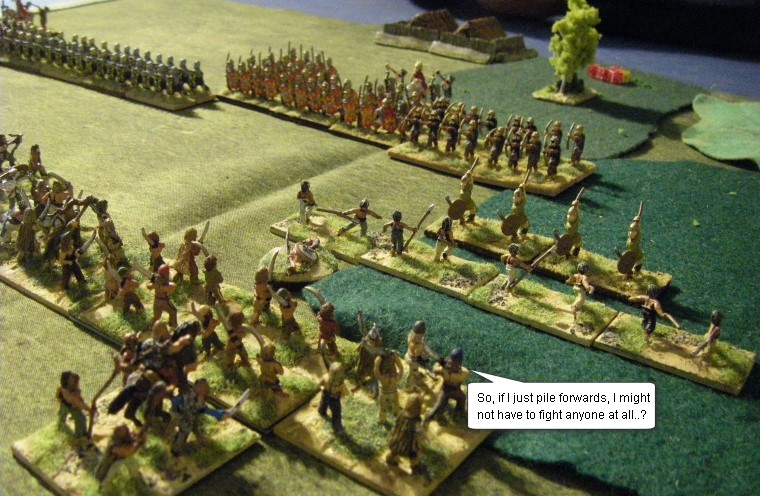
The initial skirmishes involved skirmishers, as the newly-re-available Corvus Belli "young men with javelins" looked to overwhelm the much less numerous Romans. This could be a vital initial clash, as if the Roman infantry could be quickly cleared away then the soft left wing of archers in the Roman army would be exposed to an Elite Bastarnae attack!
The Roman javelinmen quickly retreated in the face of superior numbers of Dacians, allowing the young boys to get up close and personal with the archers. Putting themselves at risk of 2-shot death was not ideal, but their job was to defend the following infantry to ensure they were at full strength when they inevitably hit the Roman main battle line.
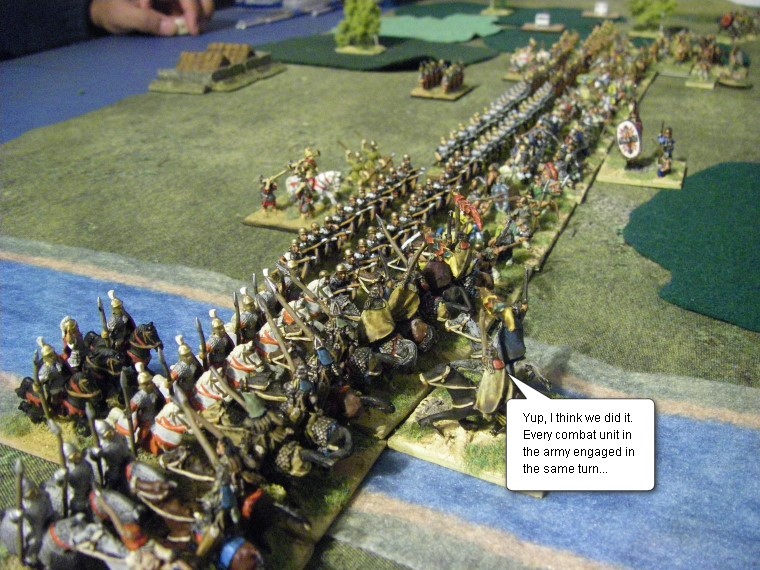
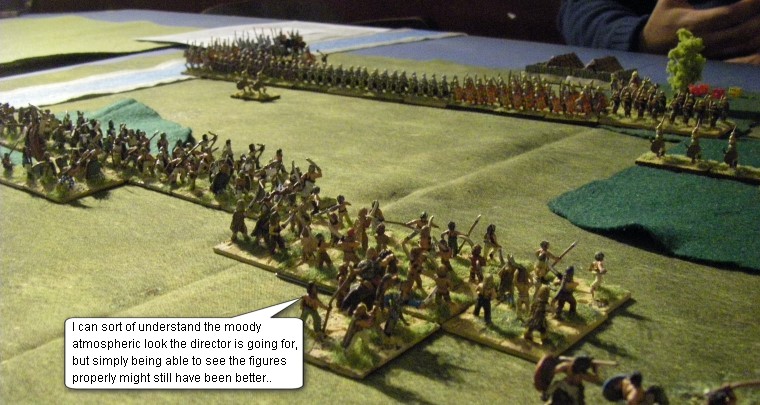
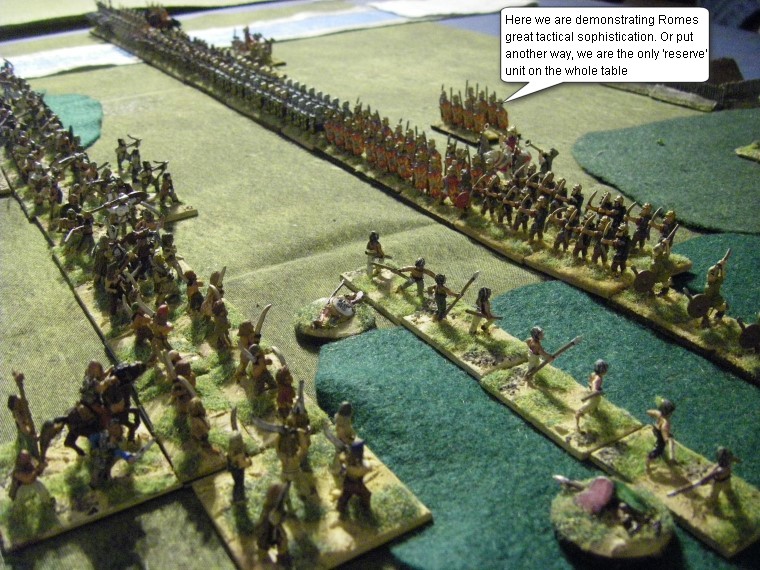
No-one was in any mood to mess around in this second game, and the whole Dacian/Sarmation army slammed into the line of waiting Romans in a glorious Barkeresque line.
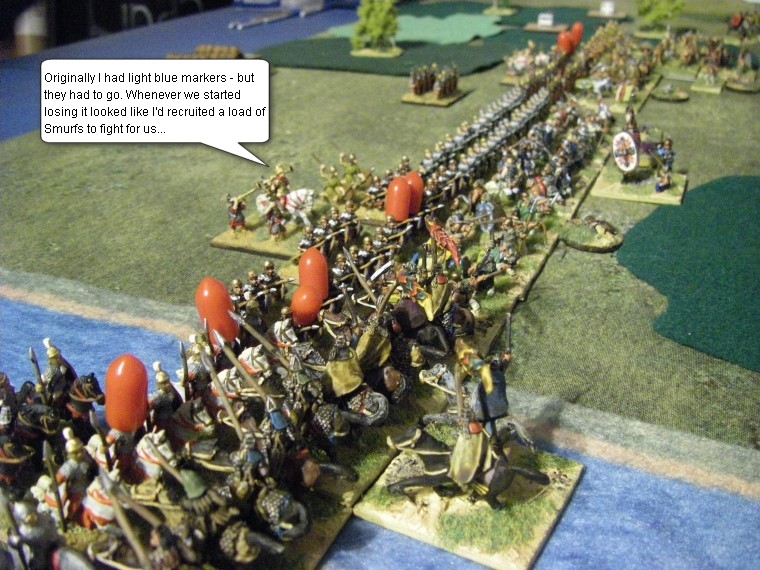
The Dacian infantry were generally down at initial impact, but any positive results in the dice-off would see the Romans take additional casualties because of the Furious Charge ability of the impetuous warband. With the infantry battle fairly even at first, the clear winners were the well-rested Sarmatians who recorded a good smattering of hits on the opposing cataphracts and lancers
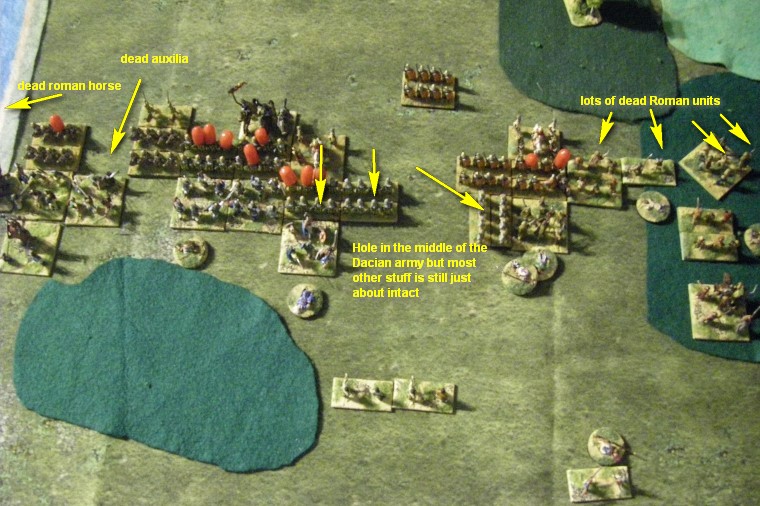
The Dacians take on Rome in Another Language!
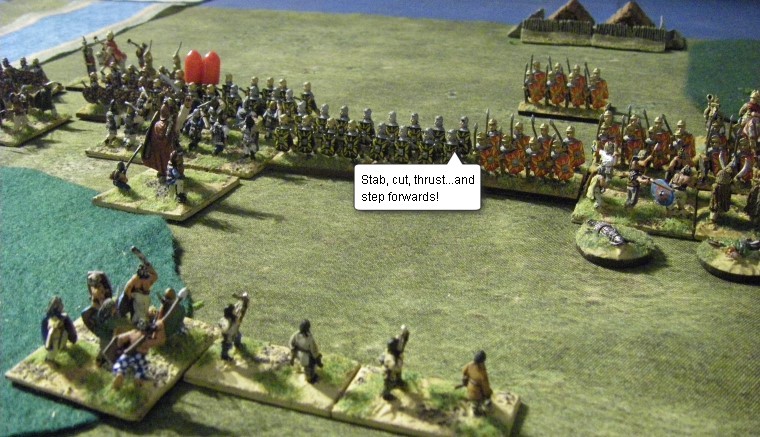
Into the cut and thrust of close quarters combat and the lightly equipped Dacian warriors found the Romans better armour and better quality a little too tricky to handle - a vast hole opened up in the middle of the barbarian battle line as 3 units were quickly destroyed! This time however there was no second line to follow up and plug the gap.
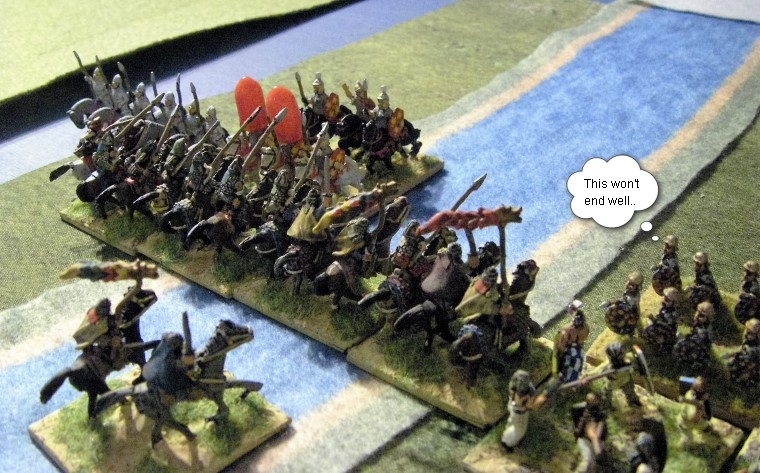
The Sarmatians were doing much better though, and had opened up a significant salient on the end of the Roman infantry line - Auxilia glanced nervously to their right as the Impetuous horsemen muttered ungraciously about not being able to follow up as the Roman horsemen had conspired to get destroyed in their own turn.
The Bastarnae had all the advantages - weaponry, overlaps and quality - against the Roman archers, and they made quick work of taking advantage of all three as they swept forward into combat. Both ends of the Roman line were now exposed to marauding Romanian woodsmen.
Teutoberg Forest

The Romans were not done yet though, and the Italian skirmishers dug in, fighting back in the woodland's Difficult terrain in that LF way which still catches out players who have a mindset from previous rulesets that only give Light Foot a skirmishing role.

But the resistance was temporary - the LF were blown away, and the archers suffered the consequences. Only one more hit remained before a massive gap would open up on the Roman right.
Sarmatia's finest were now in mopping up mode against the last few Roman horsemen - but with very few units in his command, the Roman general was able to devote his energies to shoring up his remaining men's morale.
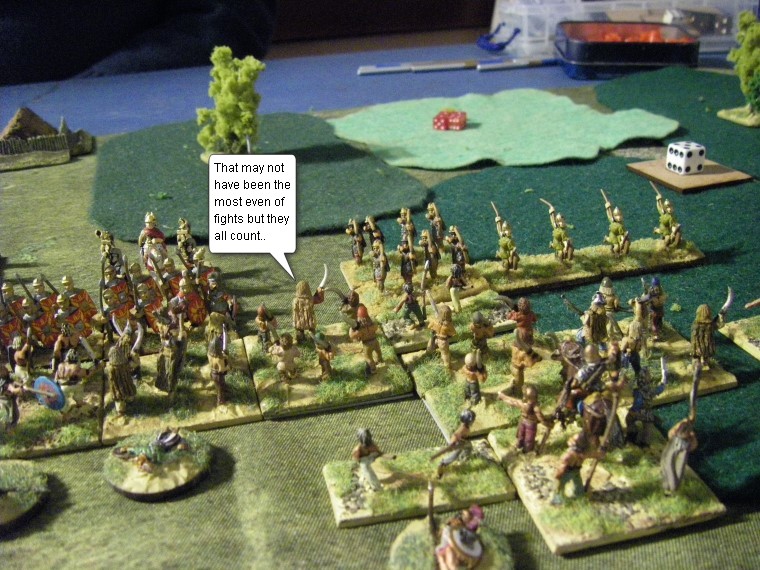
Massive gaps were now appearing in both armies lines as the battle devolved into a series of brutal knots of fighting men. Flanks were attacked, and troops picked up markers that took them ever closer to removal from the field of play as both sides worriedly totted up their losses and compared them to the pacing of the scale of destruction of their opponents
With both sides racking up the losses, the smaller Roman army, with both of its' flanks stoved in was the first to succumb - another victory for the Dacians!
Click here for the report of the next game in this competition, or read on for the post match summaries from the Generals involved, as well as another episode of legendary expert analysis from Hannibal
Post Match Summary from the Dacian Commander
 'Eaven and 'ell, fancy that? An 'istorical pairin', and a 'istorical result - why on earf would anyone be surprised!
I was very glad t0 clock so much woodland on the bloomin' Betty Grable at the chuffin' start, as this forced the bleedin' Romans into a deployment in the only patch of open Penny-A-Pound, allowin' me to frow a wall of warriors against their shields to occupy their Mae West men whilst me Jack Jones cuttin' edges were imposed on the enemy flanks.
To lose so many brave warriors in the centre is of course distressin', but if I 'ad not used their bodies as an ablative shield the bleedin' Romans would 'ave been able to wheel aahhht and shuffle across to prevent the Sarmatians and Bastarnae from 'avin' such a crystal ran at the squishy bits of the enemy Daft and Barmy.
This was a victory for the old maxim of attackin' the enemy's weakest troops and rackin' up the points wif low 'angin' fruit. In this case sum of those fruit were to be found in a Do Me Good, which is of course biologically as 'istorically accurate, makin' this a perfect game.
Hannibal's Post Match Analysis
 I still remain bemused and strangely disturbed by the use of cockney rhyming slang in your post match analysis, but perhaps the strategy is one of distracting from the lack of innovation and originality in your play?
How you can try to pretend this was a game of overwhelming the enemy flanks when you managed also to hit their entire line in one turn is frankly well beyond me. If you have an advantage at the flanks, why not, erm, just attack the flanks?
Then there would have been far less casualties amongst your troops, and the victory could still have been achieved (as all of your damage was done on the flanks) but with far less risk of tit for tat defeat.
This game was one where you took needless risks that even the smallest moment of thought could have foreseen and then avoided. I am sure that this cavalier attitude will come back to hurt you soon in the next game
Click here for the report of the next game in this competition
You may also like....
You can also comment, "like" or give feedback on these reports on either the Madaxeman.com Facebook Page or the Madaxeman.com Blogger Site.
Game 3 Dacian vs Early Germans