

Campaigns of Cyrus The Great in Campaign 2018
Achaemenid Persian vs Medes
Game 1 Achaemenid Persian vs Achaemenid Persian
Game 2 Achaemenid Persian vs Medes
Game 3 Achaemenid Persian vs Lydians
Game 4 Achaemenid Persian vs Neo Babylonian
Game 5 Achaemenid Persian vs Neo Babylonian
Game 2, Team Esses, and the Medes - the lists for the Achaemenid Persian and Medes from this game, as well as all the other lists from the games at Campaign can be seen here in the L'Art de la Guerre Wiki.
The Medes
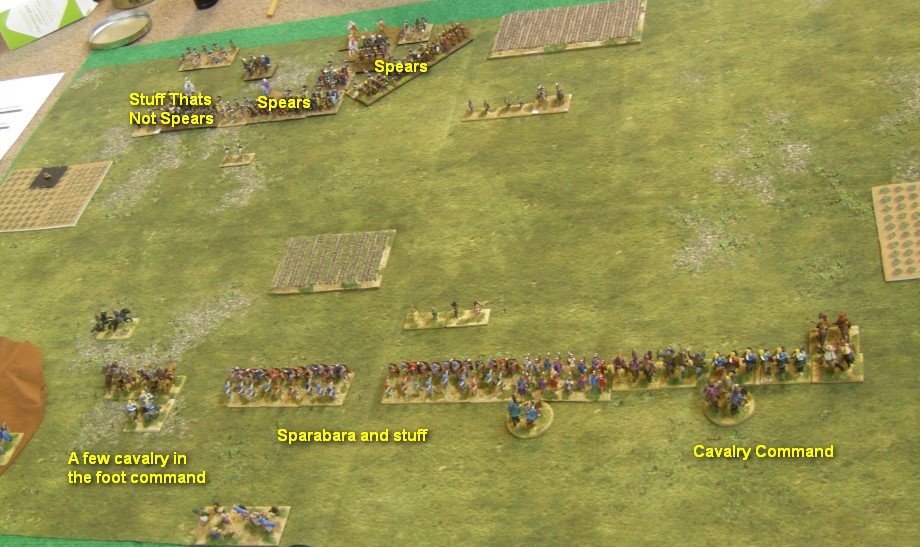
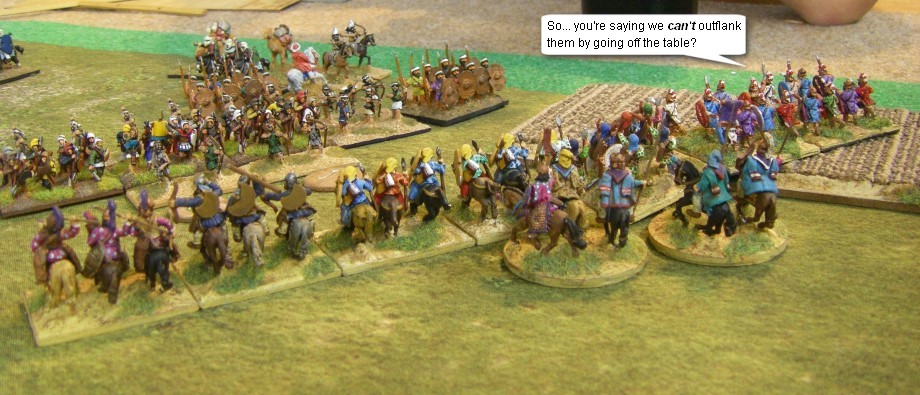
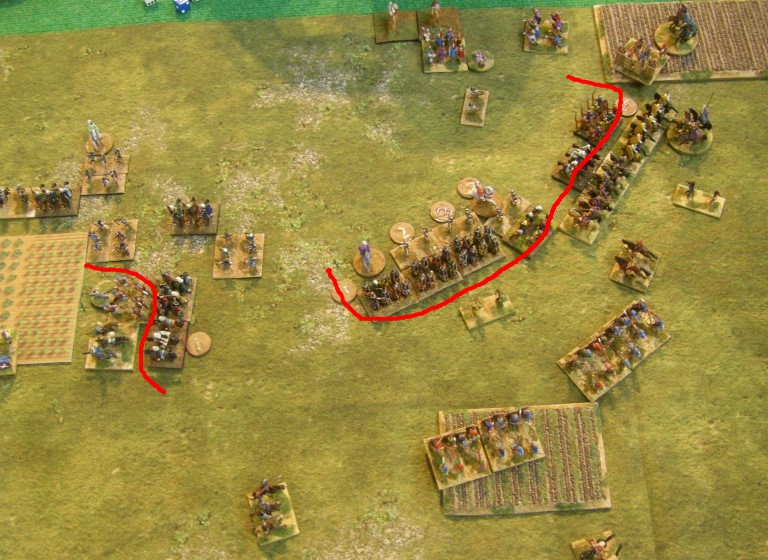
Game 2 started well as I managed to secure some fairly decent terrain for my army. The key piece looked to be the small field right in the middle of the table which the Median infantry would struggle to go into against my Immortals - added to some pretty open flanks for the Persian Cavalry and this was a tricky field for the Medes to approach aggressively.
Last year when I'd played Colin he'd been fairly defensive, and as he'd not had loads of game-time since then I sort of expected him to do the same - which proved to be correct, as his Median army deployed very much in a corner - having spotted the difficulties the terrain would present to them if they attacked
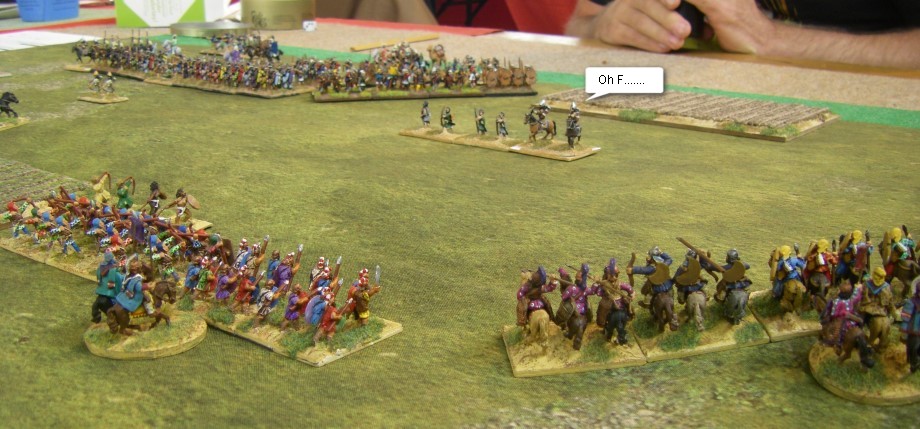
My deployment hadn't quite anticipated this amount of cornerism by the Medes, so the first few moves were my right wing swinging round as fast as they could to see if they could nick a few hits off the Mede skirmish screen before it ran away.
L'Art de la Guerre hint - With Light Troops counting the same as Battle Troops when it comes to totting up losses, putting pressure on the enemy skirmish screen is a good idea if possible in ADLG. The overall effect on the game is that skirmishers tend not to stay around too long - they do their thing and then are rapidly withdrawn by both players before they are lost
It ran away quite quickly, and almost immediately (see what I did there?) the Persian horsemen were tee'ed up against the line of Median spearmen, flanked by two Medium Foot Spearmen who had soaked up loads of pips to make it almost to the enemy baseline already.
My cavalry, secure in the knowledge that the Medes could not catch them if they charged - and actually wanting to tempt them into a charge which would open up a gap in their line - moved up and started to pour arrows into the static line of close formation foot
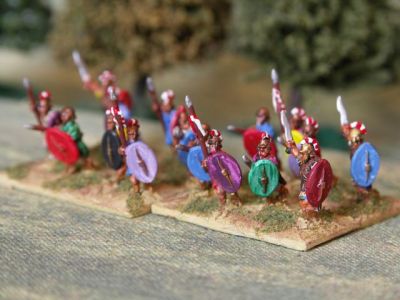
Painting Persian Cavalry
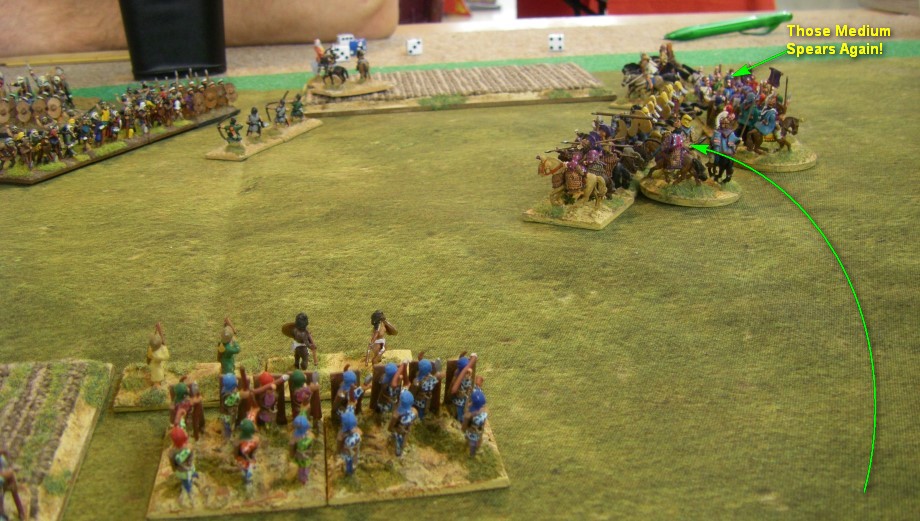
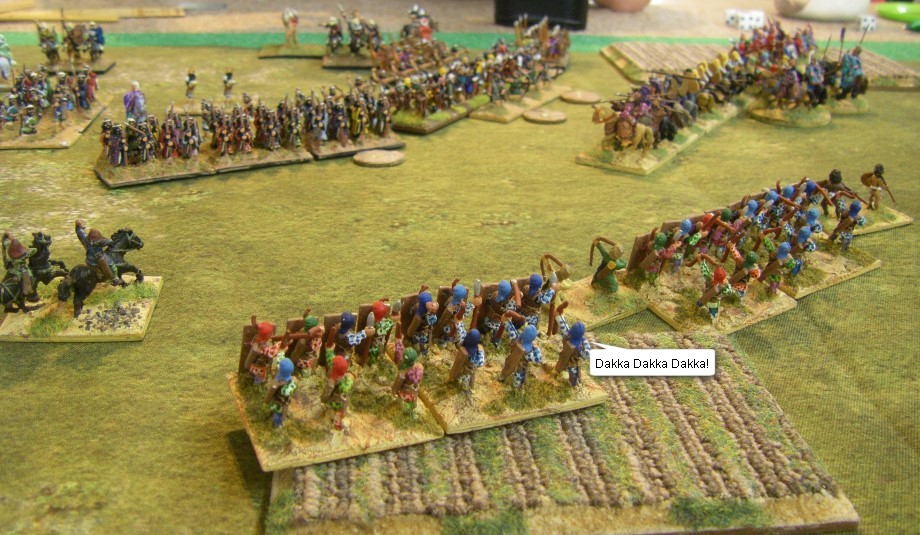
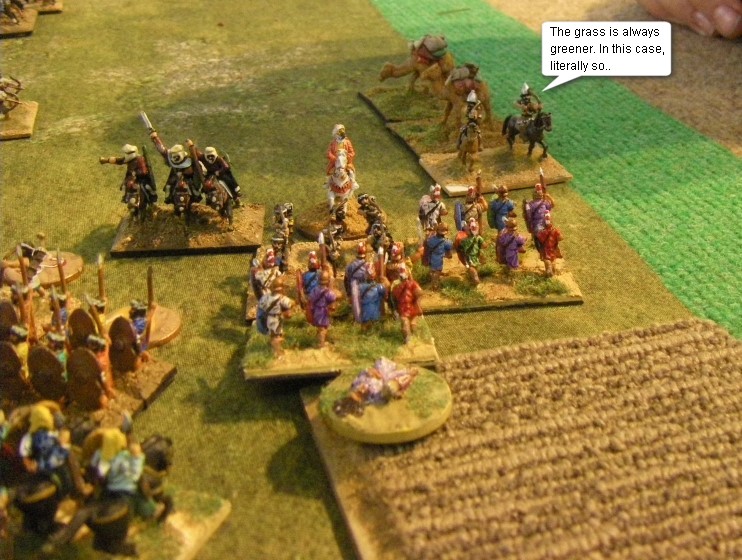
The opposite flank looked much harder to engineer an advantage on, with both armies having decent Cavalry and some shooters as well. The two javelinmen looked well set to dominate the field on the edge of the table, but whether they would be able to do anything offensive once in it was stil to be determined.
With infantry now hard up against the table edge my Cavalry move in for waves of close range shooting. The Medes are starting to take hits, and their commander is spending all his pips trying to rally them back to full health. The opportunity however looks to be on the table edge, but I'm not quite sure how to crack that particular nut just yet.

The Medes were shuffling their pack on the left of my army as the Immortal archery knocked some hits off the enemy horsemen. Seeing the temporary disarray I pushed my Elite Persian Cavalry forward to see if they would survive the enemy shooting and be in a position to achieve something next turn - although this was somewhat leaving the Javelinmen and Immortals behind in the pip front
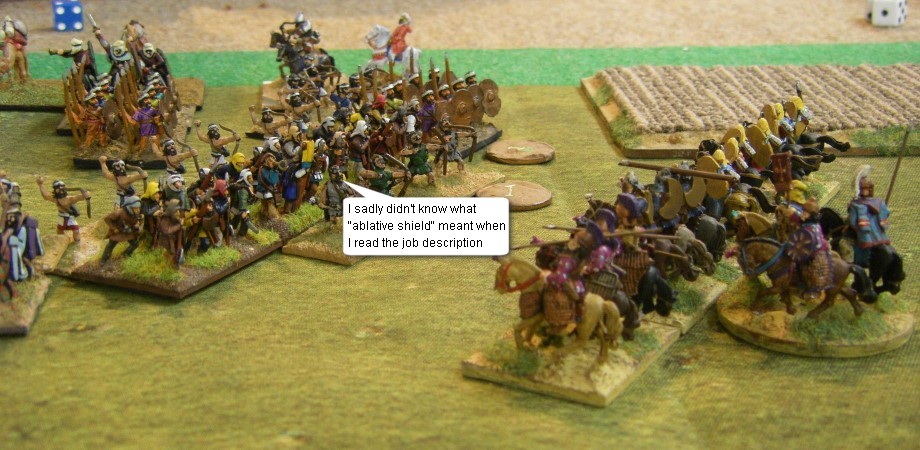
The game was shaping up to be a prolonged shooting match, with me doing most of it. Immortals (in all-blue) and Sparaba (multi-coloured outfits) opened up on the enemy spear line. I was starting to contemplate whether I could simply shoot down the enemy Heavy Foot by this point.
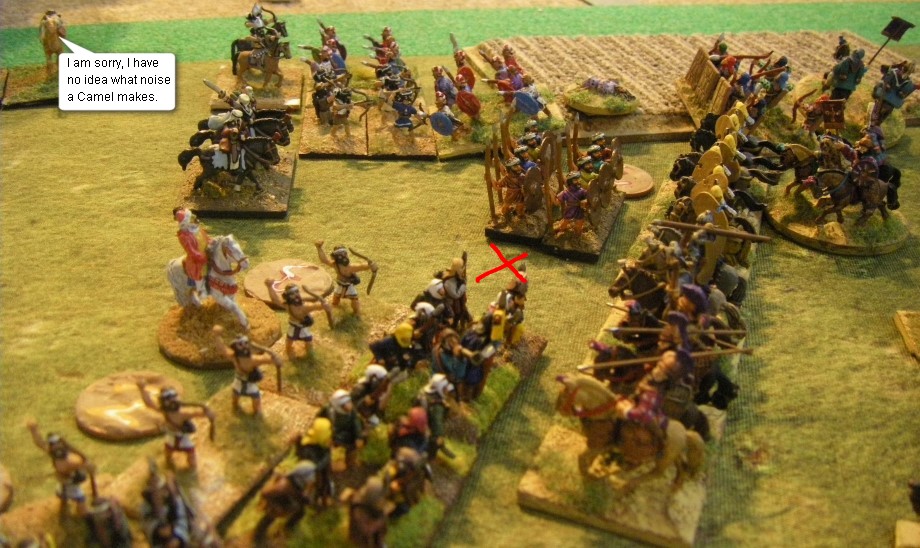
And the weight of archery meant that was no idle thought - markers, with numbers higher than 1's and 2's started to appear along the Median line. Importantly, concentrated fire was hitting the last man in the line on the enemy table edge - this might be the opening I had been looking for appearing. |
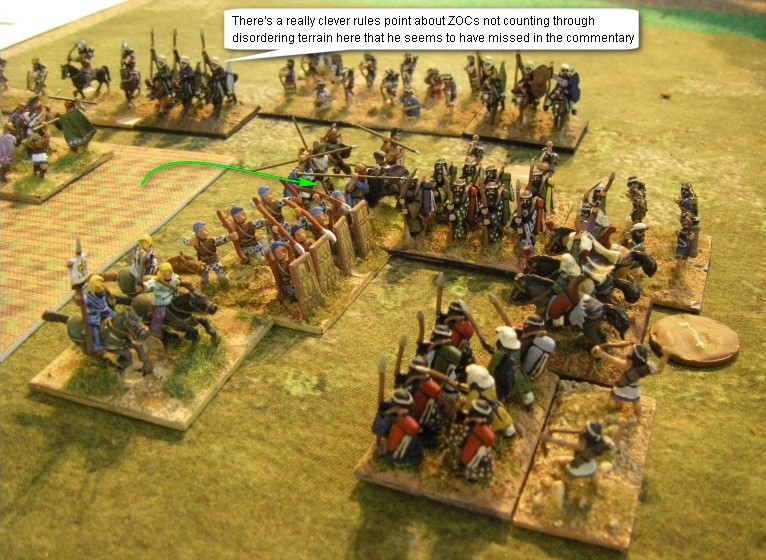
Conscious that the end of their line was looking vulnerable, the Medes finally stepped forward, making it harder for me to concentrate fire as I wished on the already wounded units
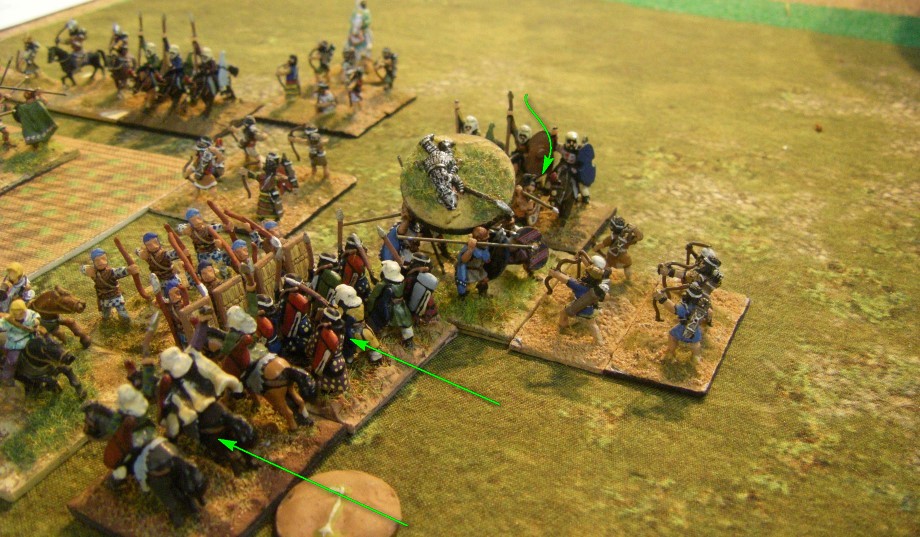
But this has exposed the end of the Mede's line, and the 2 hitherto bored looking Medium Spearmen stepped smartly up to despatch the enemy spearmen and, of course, lose to the enemt bowmen next to them. Doh!
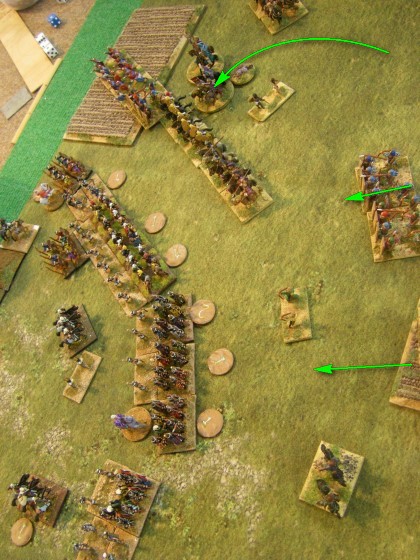
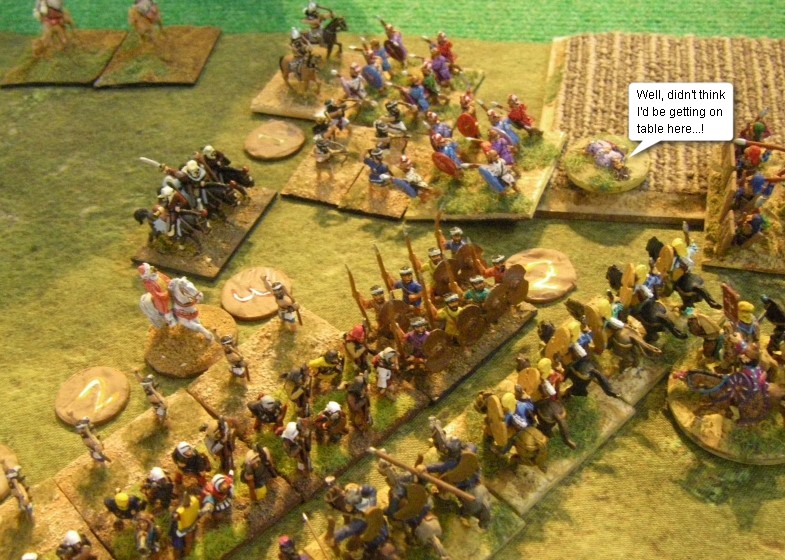
On the opposite flank the Javelinmen have finally inched their way through the terrain and had managed to turn the flank of the Mede force defending the open plain next to it. But the advance was so well telegraphed, and had so badly denuded the Persian centre that the Medes were also able to turn to react, preparing themselves for future rounds of combat
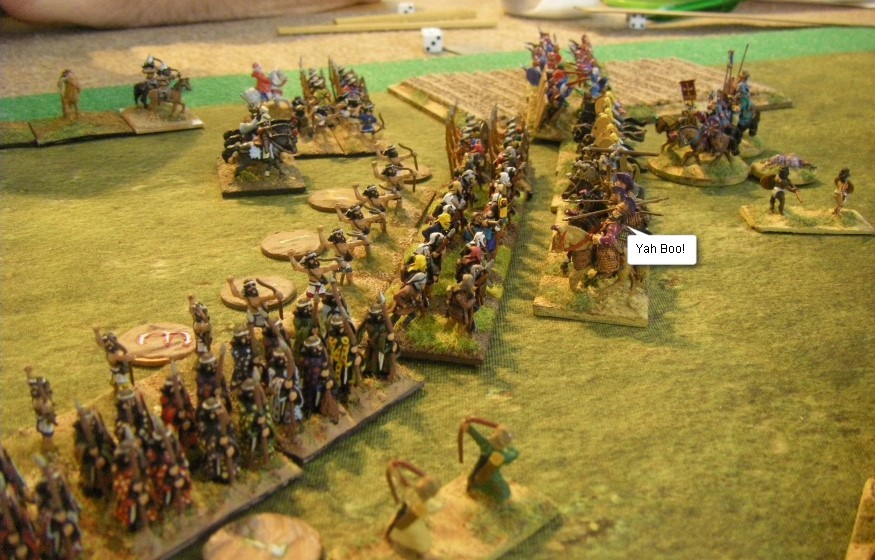
As the light fell slantingly through the glass canopy of the shopping mall, the Persian cavalry carried on firing into the now-shaken Mede spearmen. Somehow the Medium Spears on the table edge still hadn't broken through and the Medes were conscious of their threat enough to bravely throw a LH into take off an overlap from the resilient bowmen. |
 |

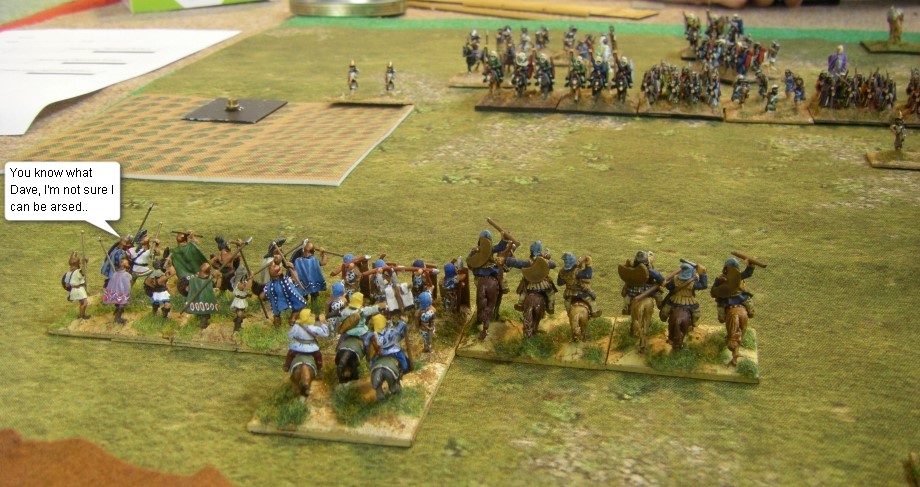
As the Javelins and Immortals moved out of the field it was obvious that their flank was totally exposed - but by now overall victory looked within my grasp due to the imminent collapse of the opposite flank of the Medes, so taking a few casualties here was no biggie if in doing so I picked up a few hits to hasten the end of the enemy army.
Finally, simply through shooting alone, gaps started to appear in the line of spearmen. My cavalry were tempted to charge home, but decided shooting was still better.
The Javelinemen ended up as some of the casualties I expected to take.
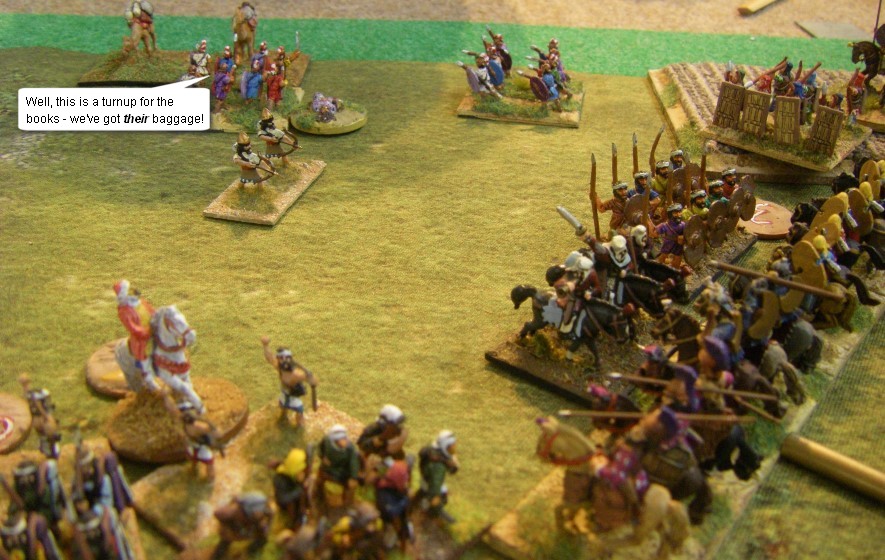
The Mede spear line on my right was now evaporating faster than a crowd of afternoon shoppers catching a whiff of wargamers BO, leaving huge gaps for my cavalry to exploit. The Spearmen, despite being injured, had polished off the Bowmen at last and made a dash for the rather-too-close enemy baggage as well, adding 4 more VPs to my total. |
 |
With the camp came victory, as the Mede army gave up the unequal struggle and collapsed.
The Result is a big win for the Persians.
Click here for the report of the next game in this competition, or read on for the post match summaries from the Generals involved, as well as another episode of legendary expert analysis from Hannibal
Post Match Summary from the Achaemenid Persian Commander
 That was a great win, proving the power of archery. I am sure that when I invade Greece tha their strange non-trouser-wearing style of close quarters combat will be overwhelmed by my skills on horseback and with the bow.
We did well with some carefully thought out terrain here, and also managed to do that whole "redeply" thing well enough, although to be fair aganst a staic enemy. But it would still have been easy to rush in and not spend the command and control resources to move those Medium Spearmen up to the table edge as fast as I did.
This game proved that shooting his rack up faster than you can rally them off, and that even a static defensive line can be breached with the application of the right tools for the job
Luckily my army lists appears to have all of the tools I need. Onwards and upwards!
Hannibal's Post Match Analysis
 All the right tools? Bag of Spanners more like! You were so lucky here that luck must be unlucky to not be doing the post match chat herself
Honestly, the weakness of your list was exposed for all to see, and it was only fortunate terrain which saved you.
Your army has nothing that can stand up to Heavy Foot in the open, and had the table been narrowed by terrain you would simply have been swept from the board by an aggressive and straight advance by the enemy
Rolling good terrain dice is a skill I admit, but not one on which you can or should rely - especially when you do not appreciate how important it was in you winning this game. Maybe you will find out in the next game?
Click here for the report of the next game in this competition
You may also like....
Game 1 Achaemenid Persian vs Achaemenid Persian
Game 2 Achaemenid Persian vs Medes
Game 3 Achaemenid Persian vs Lydians
Game 4 Achaemenid Persian vs Neo Babylonian
Game 5 Achaemenid Persian vs Neo Babylonian