

Godendag - Field of Glory Competition, Usk 2008
Game 4 - The Bosporans
(or jump straight to the rules review by clicking here)
So, mid table mediocrity beckoned us with its inviting finger, whispering in our ear "early get away miss the traffic on the M4 back to London...."
After a non alcoholic lunch we tooled up to find ourselves facing a Bosporan army (the list is here). This would be an interesting challenge, as we prior to the publication of the lists had no idea what would be in it aside from a load of lancers, and we also had little if any idea of the way the interaction between lancers and any of our troops would work in FoG.
To make life even more complicated, we failed to get our lovely village onto the table in a significant location this time around, and so we were faced with the prospect of having to come up with a better and more innovative plan than "hurl all the loose formation foot at the village and work it from there".
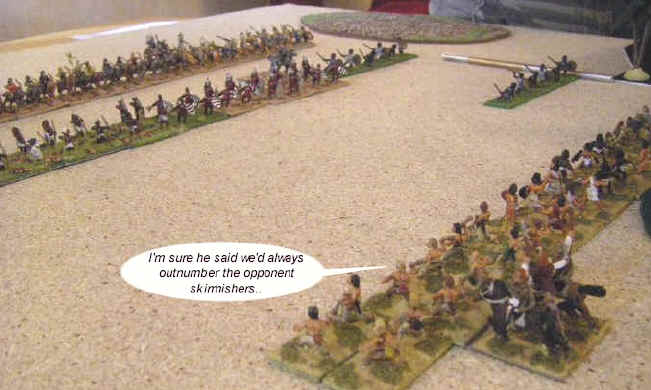
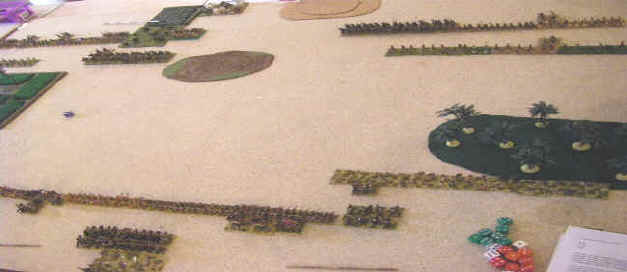
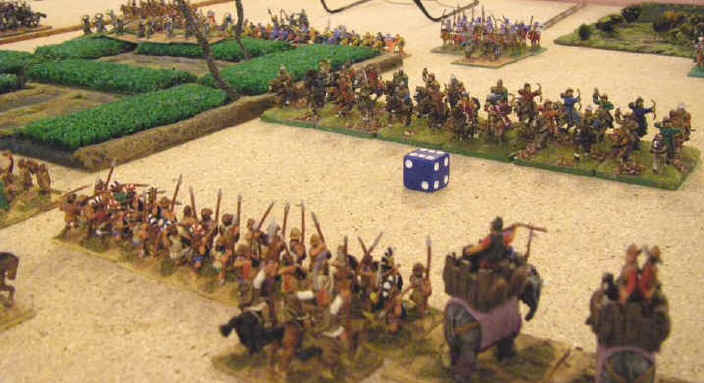
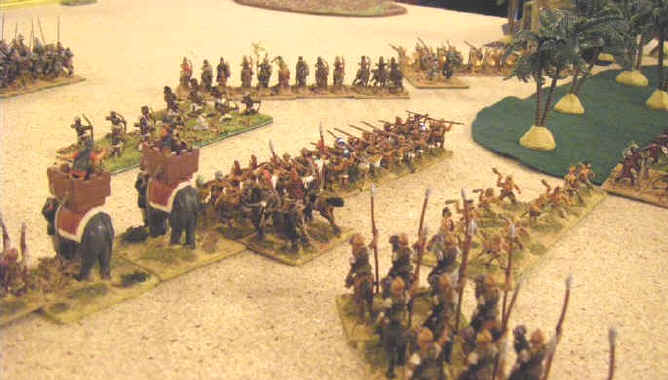
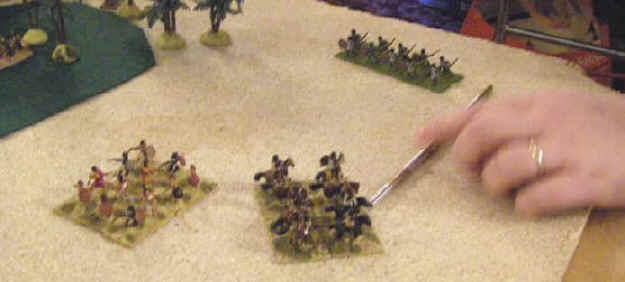
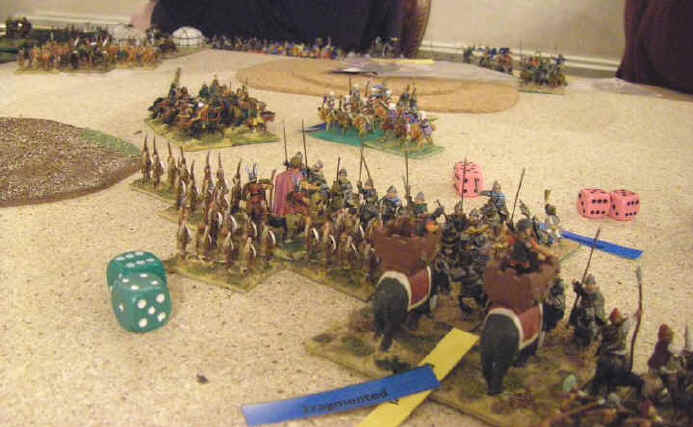
With a large palm grove blocking part of our deployment area we decided to place all our infantry skirmishers on that flank.
Hannibal was placed in the center with the spearmen, and with the Bosporan army showing no signs of wishing to hurl itself onto our line of spears, decided to amuse himself with a spot of of elephants arse-tickling..

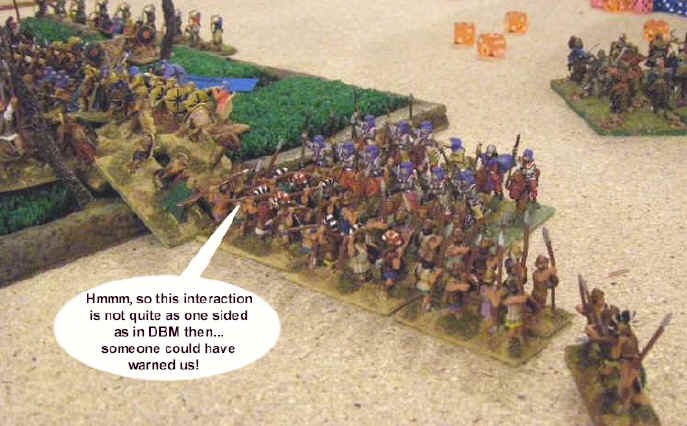
The Bosporans continued to sit back, and so the initial phase of the battle was a clash of skirmishers on our right. Supported as they were by massed lancers, bow armed cavalry and javelinmen the Bosporan skirmishers were rather more confident than the Carthaginians...
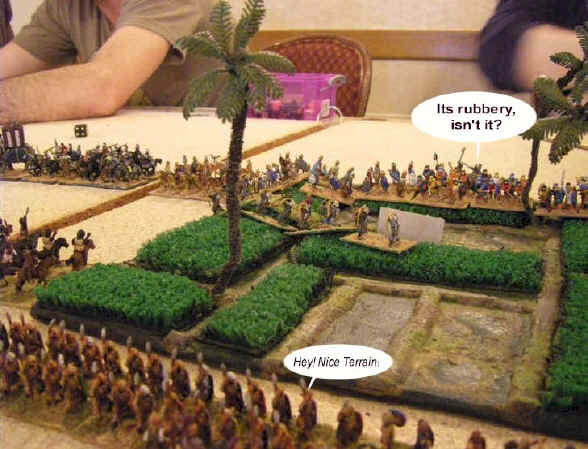
On the left a very attractive area of enclosed fields was proving an irresistible magnet for both sides, as they fed troops into the area in an attempt to contest the one piece of significant terrain on the table.
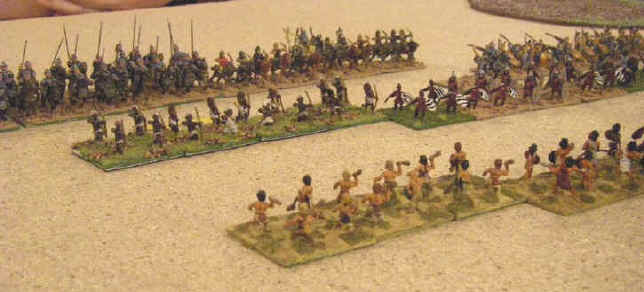
But here the Carthaginians spearmen were finally coming into their own, as they pushed alongside the ploughed area to chase away the Bosporan horse archers. We were quietly confident that the flank of our troops in the rough would be protected !(Skirmishers now can't really do much against a big block of decent foot unless they severely outnumber them or get extraordinarily lucky - their shooting has been toned down in the final published version of the rules compared to the Beta version in my last competition!)

With the initial clashes on both flanks developing into a more general set of melees, the Bosporans main force of mounted lancers were being pulled in two directions as they tried to position themselves to help out and intervene. This left a massive gap to open up in the middle of their lines, and the eagle eyed action-man Hannibal quickly spotted it, and riding at the back of a column of mounted Gauls sought to drive a wedge into the middle of the Bosporan army.
By now our skirmishers had realised they were overmatched, and had retreated into the palm grove pursued by jubilant Bosporan javelinmen. But in their eagerness to get into contact they too had over extended themselves and now their flank was threatened by Carthaginian slingers who had not been so hasty to retreat. The Bosporans were in a sticky situation - they could not go back as the slingers were waiting, but if they pushed on they would come out into the open and the waiting Numidians would ride them down.
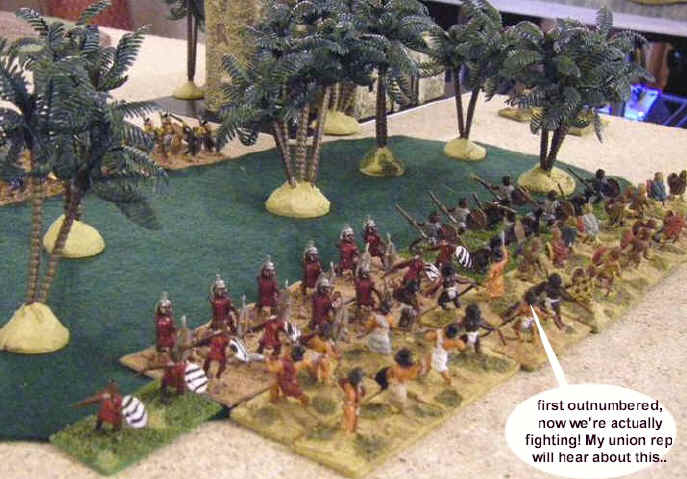
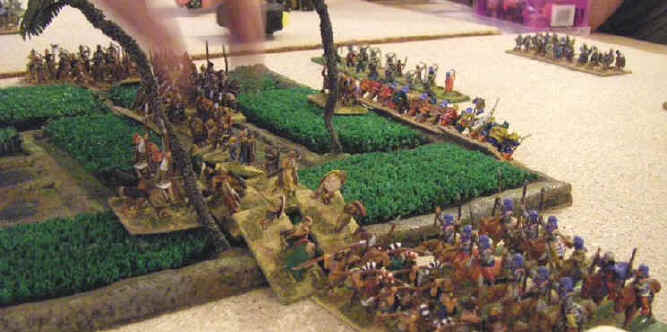
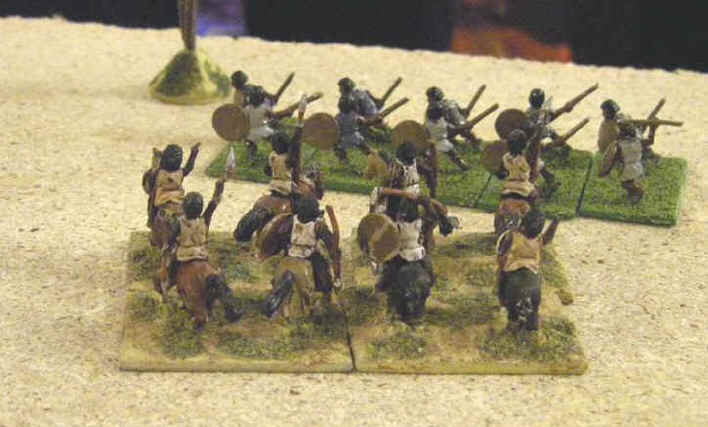
Confident that their right flank was secured by the spearmen, Adam's loose formation foot rushed forward through the fields and bore down on the Bosporan pedestrians..
Soon the farmland was ringing to the sounds of battle as the two armies clashed
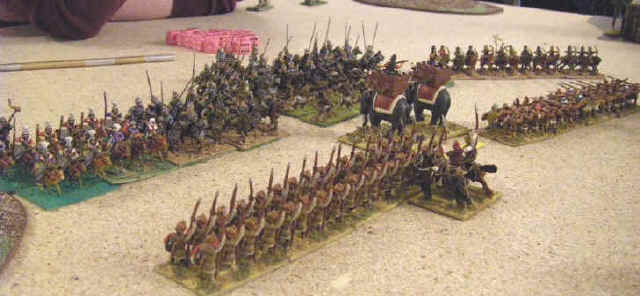
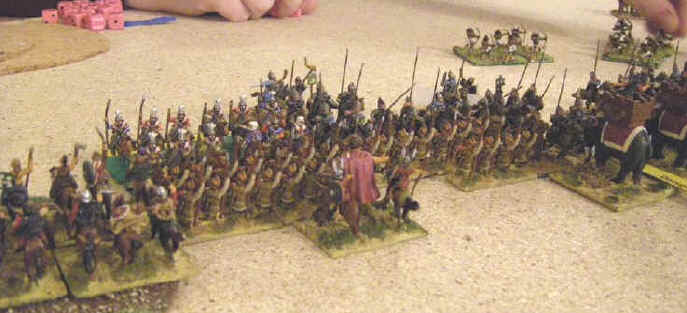
With the Bosporans continuing to sit back, the Carthaginians had been able to push forward their main line of troops on the right as well, and now a solid line of spearmen and elephants was bearing down on the Bosporan cavalry, as Poeni cavalry maneuvered behind ready to charge into any gaps that might be created as the battle lines merged.
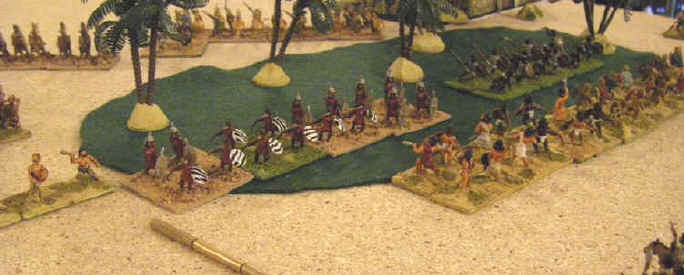
Both sets of skirmishers then decided that the time to do or die was upon them, and they drew their daggers and started some close range butchery in the palm groves. The Bosporans initially gained the upper hand, but they had forgotten the slingers and the Numidians who charged into the existing melee tipping the scales decisively in our boys favour (a charge in the rear with greater numbers, plus a charge in the front with better troops - you do the math!)
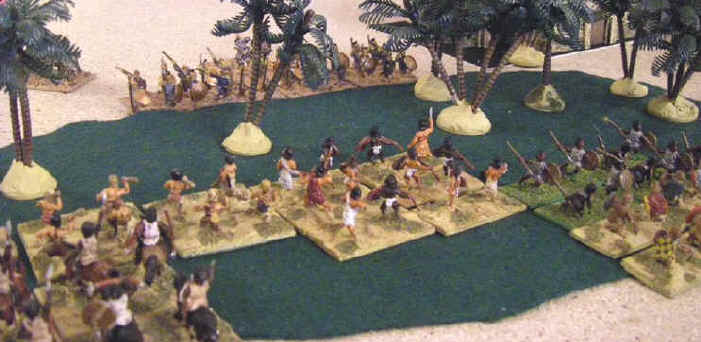
Half the Bosporans were swept away at the first charge, uncovering the startled Bosporan infantry, who had been hoping to outflank the advancing wall of spears but now faced the prospect of having to hunt skirmishers in the palm oasis.
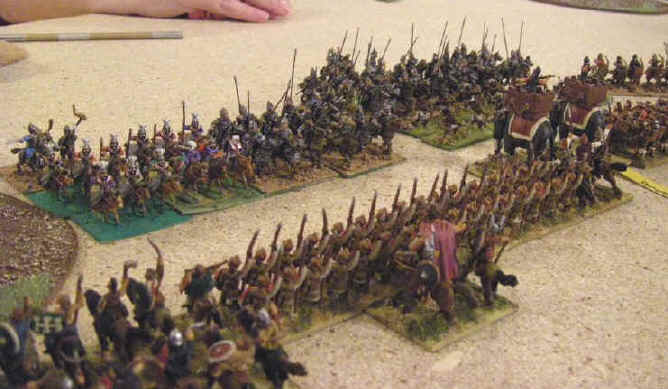
Back over on the left our weight of numbers and better equipped troops were finally grinding down the Bosporan foot, with the battle being tipped decisively in our favour by the arrival of the main spear line, which chased off the Bosporan mounted bowmen in double quick time and then lent their support to their colleagues.
This drew a counter punch from the Bosporan Nobility, who charged into the line of spearmen, and against the odds broke into their formation at impact (allowing them to stay in contact rather than break off - cavalry only stay to fight when they start winning!) . This could all now go very wrong, very quickly...
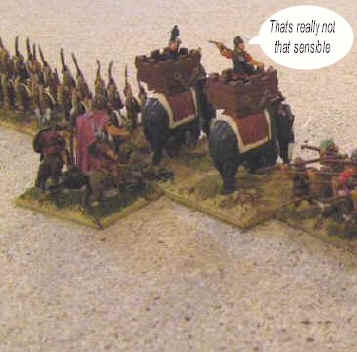
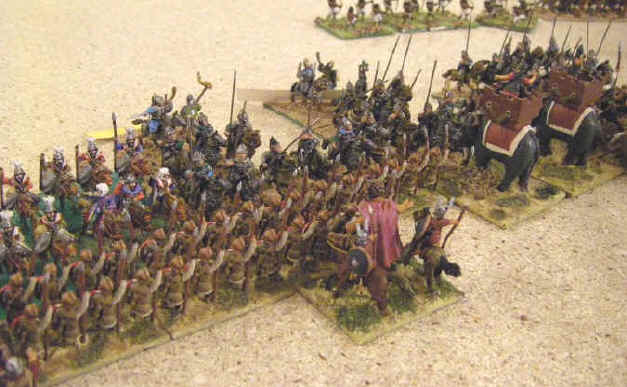
Back on my side, the Bosporan Nobility were also gearing up for a decisive charge - but this time they had the problem of 2 elephants anchoring the middle of my line to add to the mix. Their remaining skirmishers rushed forward and pelted the pachyderms with arrows and javelins, causing them to falter under the hail of missiles. Maybe this would give the Nobility heart...?
Back to the left, and the Bosporan foot's resolve finally cracked - they turned tail and fled, leaving the entire flank open for the jubilant Gauls & Spaniards!
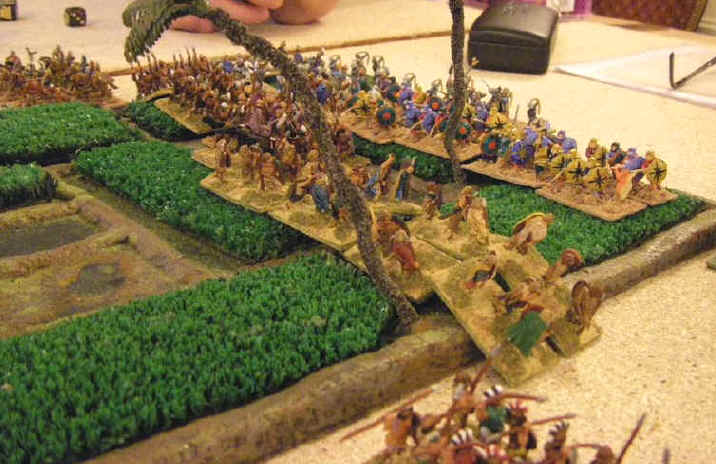
With Hannibal and one of his subordinates giving moral support, the Carthaginians braced for impact!
The lines clashed together and the whole world shuddered as the Bosporans fierce initial charge hit home!
(OK - its a bad case of camera shake, but I used it anyway. My own bit of recycling - everyone is going Green these days!)
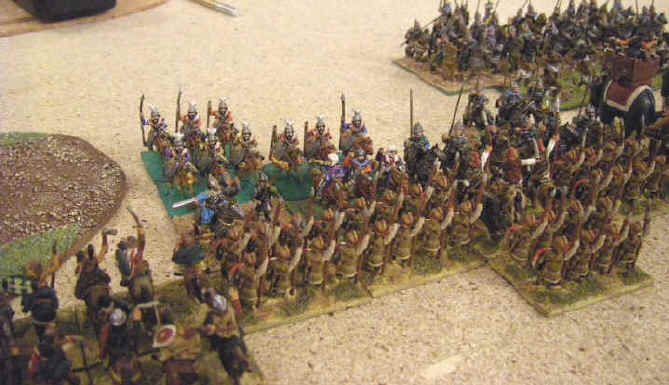
The fighting was fierce, as the Bosporans repeatedly charged in, rallied back and charged again. But each time their numbers were being thinned out by the resolute Carthaginians, who knew time was on their side. (You can see, this can go on for quite some time, see-sawing back and forwards. Note the 2 Carthaginian generals and how they change their position throughout the rest of the photos, shoring up the spear line)

Again and again the noblemen charged in, as the Carthaginian generals rushed back and forth along the battle line, giving encouraging words -and blood curdling threats of retribution - to inspire their men to hold fast.
For a long time it seemed the Bosporans would keep coming back for ever, but gradually as the casualties mounted and the Carthaginian line did not fold, their resolve began to waver and their will to fight ebbed away.. (no matter how good your troops training and morale, once you lose a good chunk of each unit they will crumble and break)
The rest of the battle did not stand still while this epic struggle was taking place however. With the cr�me* of the Bosporan army locked in a struggle to the death, the Carthaginian army was pushing at an open door across much of the rest of the field and was driving clouds of skirmishing archers back towards their own undefended camp.
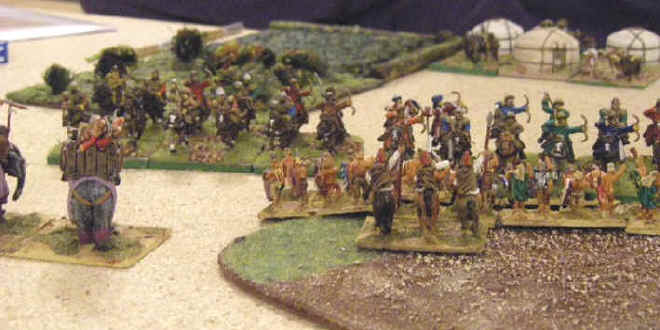
And tucked away in a quiet corner of the table a life and death struggle equally dramatic, and equally important to the combatants involved was taking place as a lone unit of Bosporan skirmishers - having been the only Bosporan victors of the skirmish in the palm grove and having pursued and cut down the fleeing Carthaginian skirmishers - found themselves being hunted down by Numidians and Spanish javelinmen... (every unit counts for victory and defeat. Skirmishers are vulnerable, however in practice they usually proved quite hard to catch and kill, as they can normally escape behind their main battle lines if they start to look shakey)

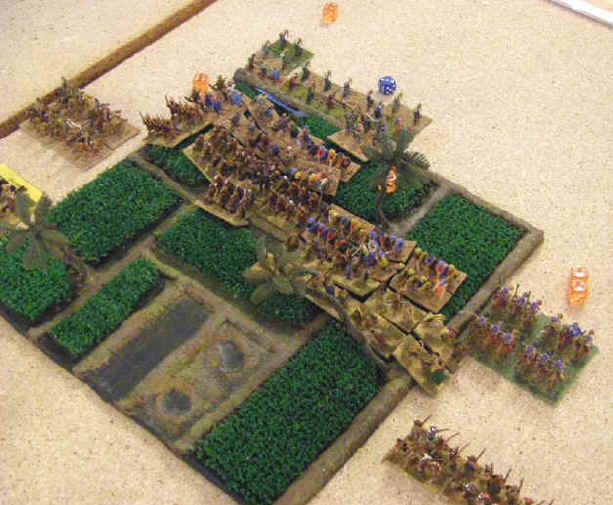
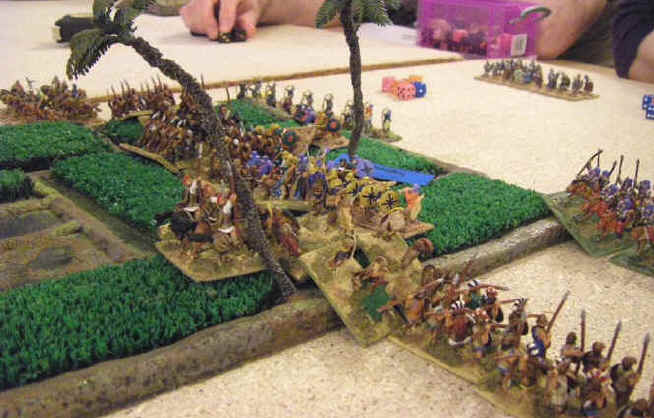
The battle raged on .... (the Bosporans are clearly starting to lose bases from each unit of 4 in this picture)
..as both sides started to wonder if it would ever end....
..as for the Bosporan skirmishers, it eventually did...
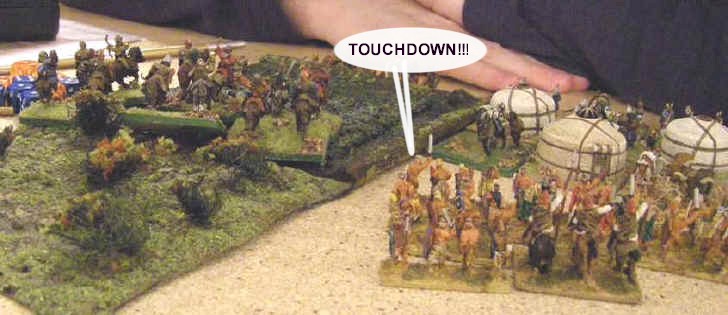
... and as the center of the Carthaginian army looked on in gratitude as their route to the baggage was by unopposed and they broke into an orgy of looting and gratuitous petty thievery. (Sacking the opponents camp is a bonus, but not a major one)
Finally, a battered and bruised Carthaginian spear line, by now personally led by The Big Man Hannibal himself raised a ragged cheer as the Bosporans - disheartened by the sounds of pillage coming from their camp - finally lost the will to continue to fight on. The Carthaginians had won !
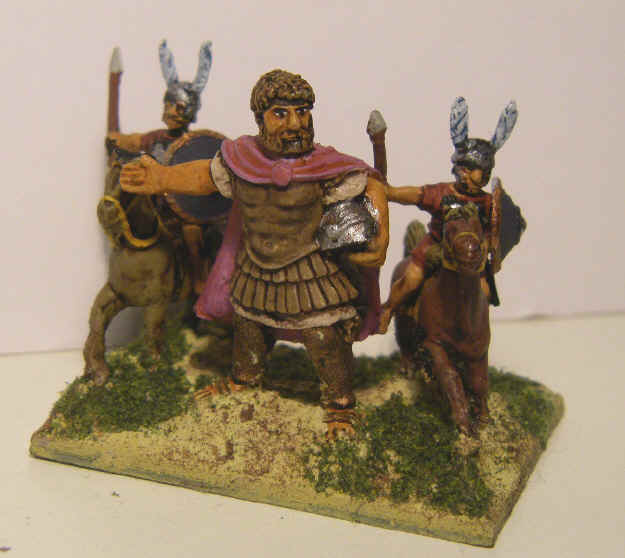
Hannibal - An Inspiring Commander
Post Match Summary
This game really motored along as both sides knew the rules well enough not to really need to refer to them by now - and the interaction between the spears and mounted lancers had actually been an exciting and close run thing. In the end the Carthaginian generals actions in shoring up their line each time the Bosporans got a slight edge had made the difference, allowing the spear line to grind down the resilient high quality Bosporans in a game of attrition.
On the other flank we had started with a clear advantage in rough terrain troops, and hadn't wasted any time in getting to grips with the enemy, skittling them out and pushing on for the touchdown into the baggage. It had been a bit of a challenge to get there by the time the game ended, but in the end the skirmishers had been unable to delay the Carthaginian close formation foot and they had been swept away by a determined advance.
As a result of the competition, I'm now actively looking forward to getting the rules and playing again - and I have already ordered some more figures, for the first time in years!
I could also see how our army didn't need quite so many fairly average spearmen, and swap them in for a few hard-as-nails veterans - maybe a few more loose formation troops, maybe a unit less of light horse and upgrade one of the weaker cavalry units to make them a little tougher. So something must be working !
FoG News
FoG is selling well, with over 50 copies so far ordered from my online bookshop in the UK, France and the US. To order your copy follow the following links
(they are all actually run and administered by Amazon, so you don't have to give me any money personally - I won't even ask you for your credit card number or anything at all. Unless of course you want to give it to me anyway just because you like this site so much.....!)
The Summary and Overall Review of Field of Glory
I think (I hope)
the comments I sprinkled throughout the reports should show that whilst there's
not too much rocket science in Field of Glory, the rules overall seem (touch
wood) pretty simple to get the hang of and also pretty bomb-proof against cheese
and geometry - the two worst game wreckers. The long development process, the
input of a few wargaming hacks and the addition of commercial-publishing
standard editing and reviewing seem to have been worth the effort in producing
something that's tightly written, easy to understand, and adequately covers
pretty much all eventualities.
Maybe there is
just something in playing against strangers who also knew the rules and who were
trying to win, as opposed to playing my mate Adam with both of us trying to
learn the mechanics and decide if we "liked" the rules which also made
a huge difference?
No pip-based command and control really surprised me initially, and as I said earlier, it takes a while to realise that there is any command and control mechanic. But, whilst pips (or for Warmaster players, command rolls) used to represent an abstraction not only of command and control, but also (in my mind) of how the key action in a battle can end up occurring in one small sector of the line (where both sides spend all their pips) whilst the rest is inconclusive (ie they stand there doing nowt), they also have their downsides - certainly in that the ability to do long-distance, multiple moves often has excessive influence on deployment, tactics and the overall outcome in both games, and also there is an inherently odd aspect to the idea of troops standing still for ages without lumbering forward to fight enemy they may only be yards (or inches) from. So, you win some, and lose some on this, but you do get a change.
Morale and waver tests - well, that's a dangerous and bold thing for anyone to reintroduce, especially to anyone who remembers 7th. Initially the biggest mental hurdle for me was the reintroduction of morale tests which seemed to bring in a large and highly important random element into the game - but gradually I've learnt to appreciate how correct use of Generals, rear support and various other factors allow you to significantly increase your troops ability to survive them - and also to appreciate that by making a basic 2xD6 score of "7" the usual pass/fail baseline, even being able to add (or cause your enemy to deduct) 1 positive factor means you can make a material difference to the probability of succeeding or failing. The other good news is that they aren't quite so dramatically bad as in 7th - where you could go from steady to broken in 2 bad dice rolls, both on a single D6 with no modifiers. They are also nowhere near as byzantine as they were in 6th and its predecessors, as there's only 6 or 7 simple factors to remember. The final thing is that by shifting the way combats are resolved away from pushbacks and into progressive slipping - or restoring - of fighting ability via a simple test has also allowed FoG to remove even more geometry from the game, as there is no need for a slew of special rules about troops being pushed back, or conforming in combat or any of that gubbins. So, whilst I was initially reluctant, I can now see the upsides as well.
Will everyone like these rules - well, certainly not. Will a lot of people like them - I think almost certainly - both coming from a DBx and a GW tradition. Is there anything brain-stoppingly brilliant and innovative in them? Sorry, not really - but there is definitely a fair amount of subtle and well thought out stuff that will make sure its a good "game to play. Is it historical - well, it looks pretty reasonable to me, but I profess no real in-depth expertise and I have no appetite for an endless argument either so I'll sidestep that one and leave it to you. Either way, right now I'm looking forward to my next game and next competition, and thinking of buying some more troops too.... none of which has happened in a long time for me - so something must be good in there!!
To order your copy follow the following links. These go to the Amazon site for each country, but it's presented with a "skin" from this site. This means you are giving your card details to Amazon (not me), you can use your existing Amazon account (if you have one), Amazon are shipping the books to you (its not me nipping down the post office at lunchtime) from the inventory held by Amazon (not a box in my garage). The prices are exactly the same as you get on "normal" Amazon, but I get a small commission for any sales via any of these sites. So, its the same as buying it from Amazon, but you get to pay me back for all the work I put in writing these reports - and it costs you nothing. How good does that make you feel ?Go on, you know it makes sense!
Jump back to Game 3 vs More Romans
Did you miss the Surreal and Hilarious FoG Authors Movie?
Jump to my previous FoG Competition reports
See a more detailed "how it works" review from the games official forum
Here's another fairly educational review (from a site affiliated to the rules authors)
(* French word)
var sc_partition=29;
View Visitor Traffic for My FoG Match Reports