

Compulsary Cataphracts in Pamplona 2019
Koryo Korean vs Seleucid
Game 1 Koryo Korean vs Sui & Tang
Game 2 Koryo Korean vs Seleucid & Maccabean
Game 3 Koryo Korean vs Sassanid Persian
Game 4 Koryo Korean vs Northern & Southern Dynasties Chinese
Game 5 Koryo Korean vs Patrician Roman
Game 6 Koryo Korean vs Seleucid
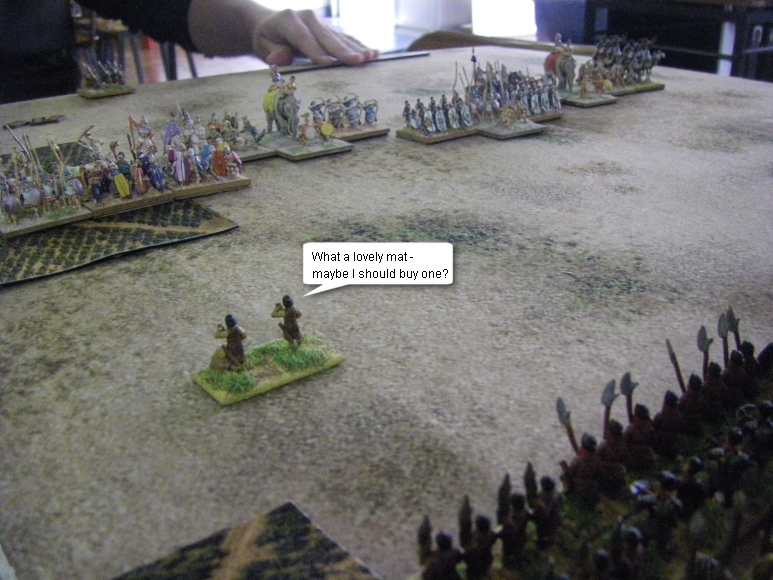
This was it - the final game, lunch was over, and the commercially relentless Rafa Tortosa faced me across the short but beautifully clad in a Rafa special battle mat top(ish, probably) table in Game 6 of the Pamplona Express!
The lists for the Koryo Korean and Seleucid from this game, as well as all the other lists from the games at Pamplona can be seen here in the L'Art de la Guerre Wiki.
Rafa had taken a Seleucid army, and his torrid time against War Wagons in Ireland was the inspiration for the choice of my list. Would he have learnt his lesson, or would he still be vexed by the potential for the wagons to cause terrible trouble?
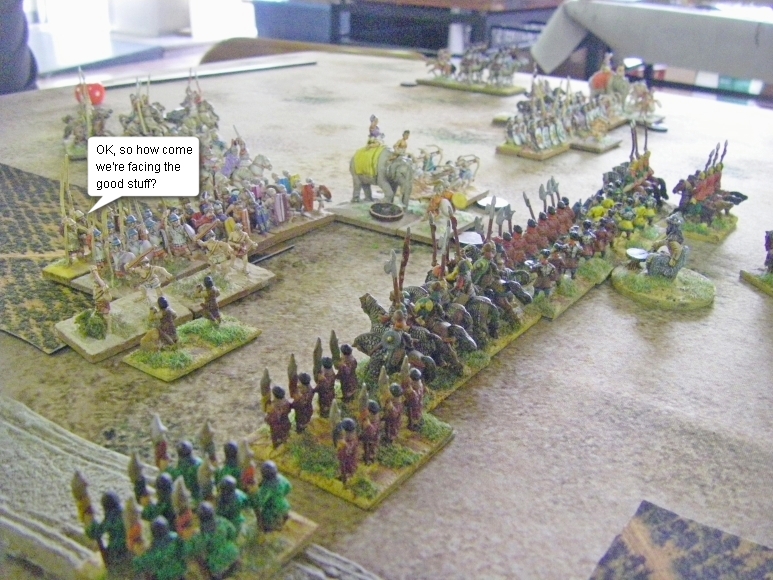
The Seleucids decided to narrow the table with a waterway on the left hand flank
Either that or Rafa was simply trying to position as many of his own commercially available terrain pieces in the battle report as possible in order to promote additional sales. Who knows..?
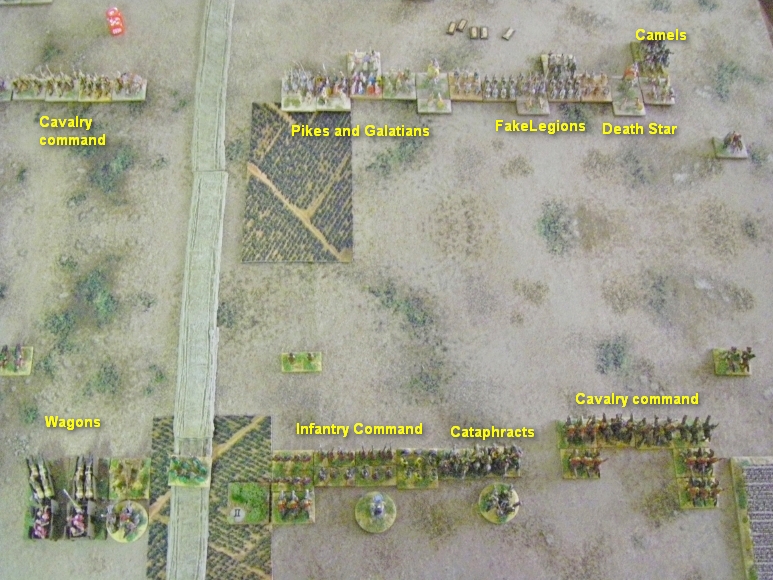
But anyway, I simply cropped it out of shot and set up with the Wagons next to the waterway and then the infantry, and finally the Cavalry command on what should have been an open flank. The Seleucids however similarly refused the waterside with a handful of cavalry, and blobbed down two large mostly foot commands in the rest of the table.
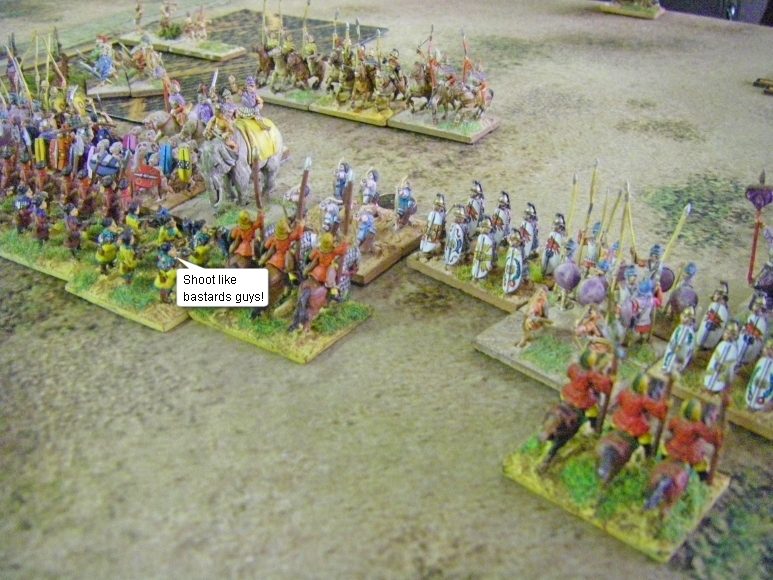
Holding back such an enormous amount of soldiery was a huge task, and it fell to the lone handgunner to try and keep the onrushing tide of eclectic individuals at bay whilst my army faced up to the possibility it might actually have to engage in a straight-up fight.
The Seleucids almost covered the table, but towards the end of their line they somewhat petered out with a vulnerable-looking Inferior Camel bowman.
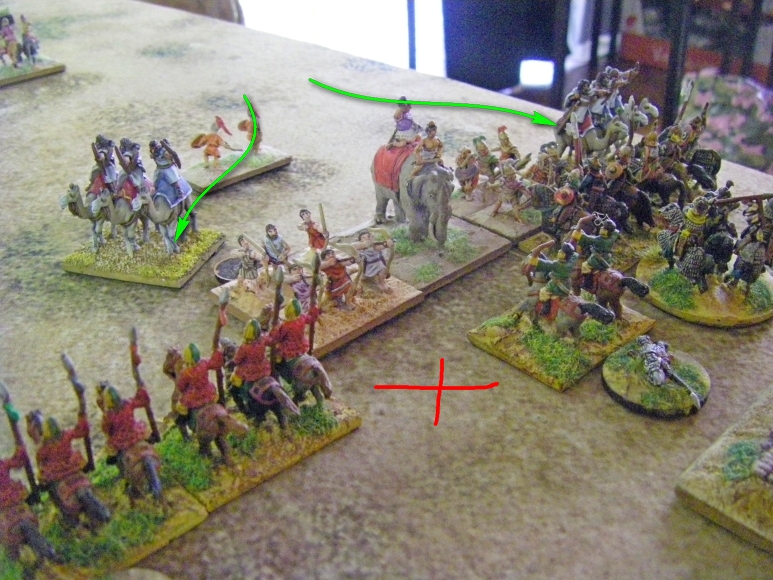
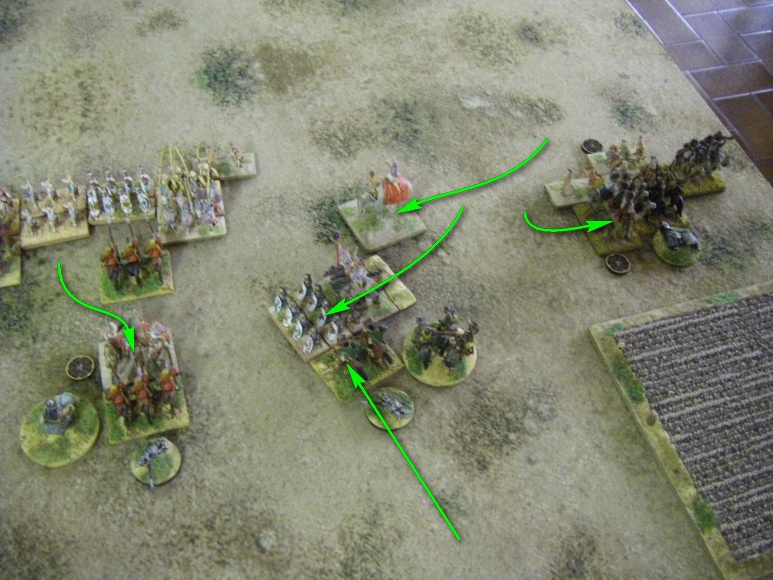
Using all of the mobility inherent in the all-mounted Korean command the Koreans looked to shuffle and stack up their best horsemen to try and drive an advantage down this small sliver of flank - first up shooting away the Seleucid skirmish screen.
In the centre the Seleucids were driving their pikemen and Galatian infantry through a small field, as their refused mounted wing split in two and sent its most dangerous troops to join in the main attack secure in the knowledge that the Wagon command would take weeks to get to the ones left behind defending the Seleucid baggage
L'Art de la Guerre, ADLG hint - Foot move at full speed through uneven terrain like fields in ADLG - they suffer badly if caught in combat in terrain, but can get through it pretty quickly. This is often forgotten!

On the supposedly open flank the Seleucids were shuffling faster than a conjurer at a wedding as they sought to block off the gap and protect their mediocre bow armed camel auxiliaries from the Korean sideswipe.
The potential battle in the centre was fast becoming an actual one as the two lines of troops converged as the Korean General looked on.
It looked very much like the Seleucid Heavy Foot would sadly make it out of the terrain before the Koreans could close up to the edge of it though, an outcome which tipped the balance of probability in Seleucia's favour
Looking at the many upcoming combats, many of the files of sub-optimal combat troops in the shooting-first Korean army were now in danger of actually having to fight!
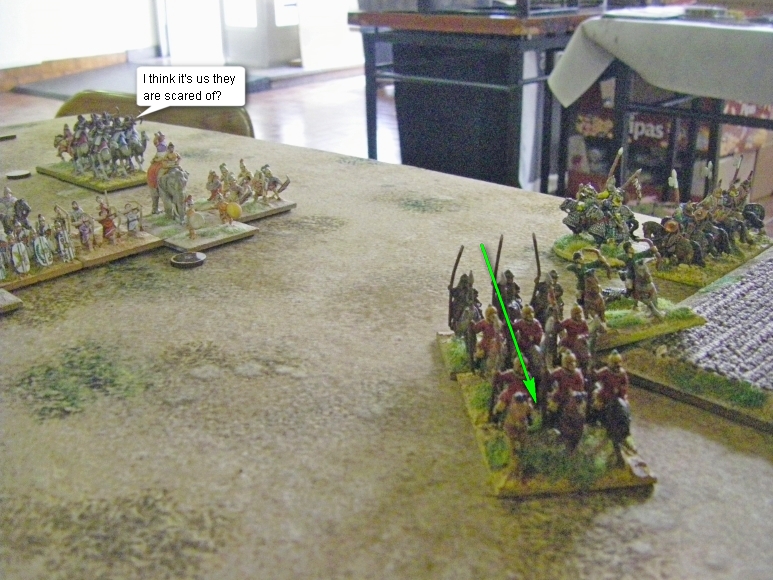
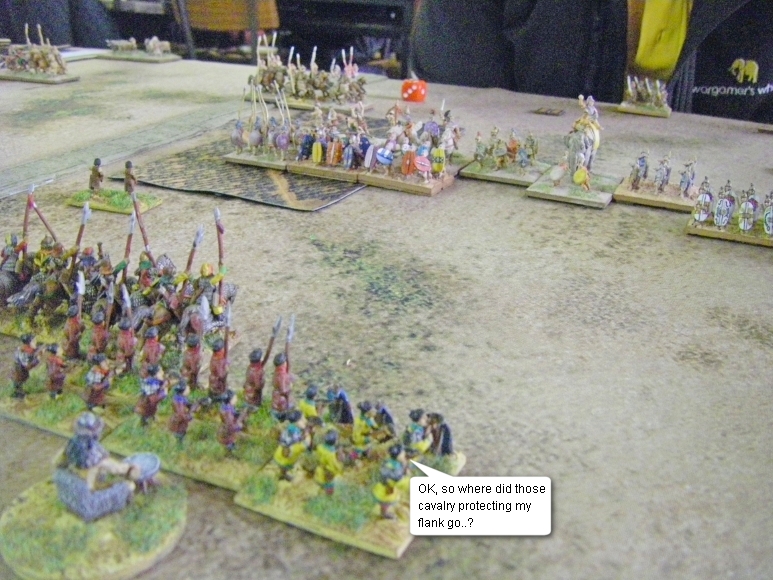
The door on the flank had been sufficiently well closed by the Seleucids elephant to cause the Korean cavalry force to rethink its strategy, or "retreat" as it is known in professional military circles. Leaving some horsemen on the far flank to keep the elephants honest (and away from the centre of the table), the rest of the Korean wing fell back to regroup
Korean History
Soon the two main battle lines were at nostril-hair-entangling distances as the Korean infantry furiously unleashed volleys of crossbow bolts at the oncoming enemy hoping to hit them before combat was joined.
L'Art de la Guerre, ADLG hint - carrying even one shooting-caused hit will reduce your combat value by 1, a huge disadvantage in a low base factor game like ADLG.
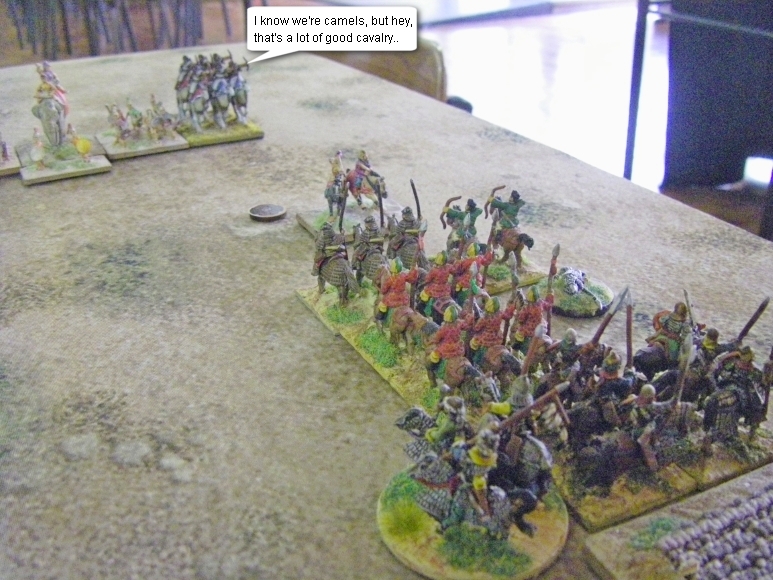
What was now a decidedly sub-par Death Star wandered into range of the Korean cavalry on the far wing. Needing to force the issue here in light of the poor matchups and even poorer shooting results so far in the middle the Koreans gripped their chopsticks and waded in hoping to blow away the end of the Death Star and its medium foot wings.
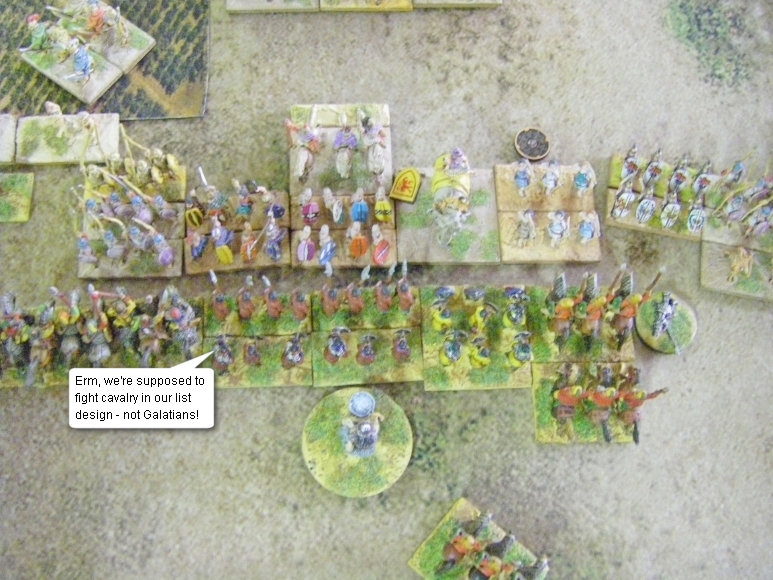
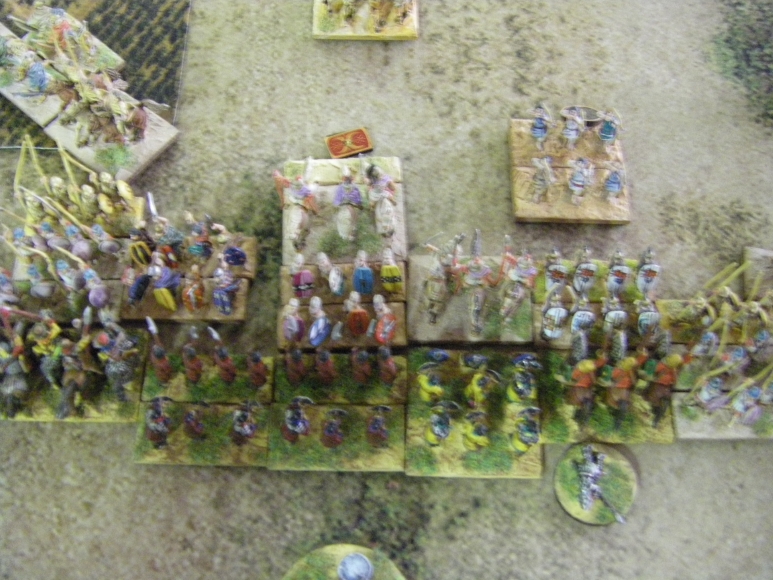
The paucity of actual combat-ready troops in the Korean list was starting to be badly exposed as the full width of the Seleucid army was brought to bear.
With their cavalry seemingly on a mission of their own devising on the far right flank the main infantry and cataphract command found itself relying on little more than a handful of units of surplus mounted to hold their flank against a concerted push from both Pikemen and Roman Argyaspids in the centre.
North Korean Alt-History
The Seleucids were pretty much in across the line, but in generating width they too had thinned out their reserve
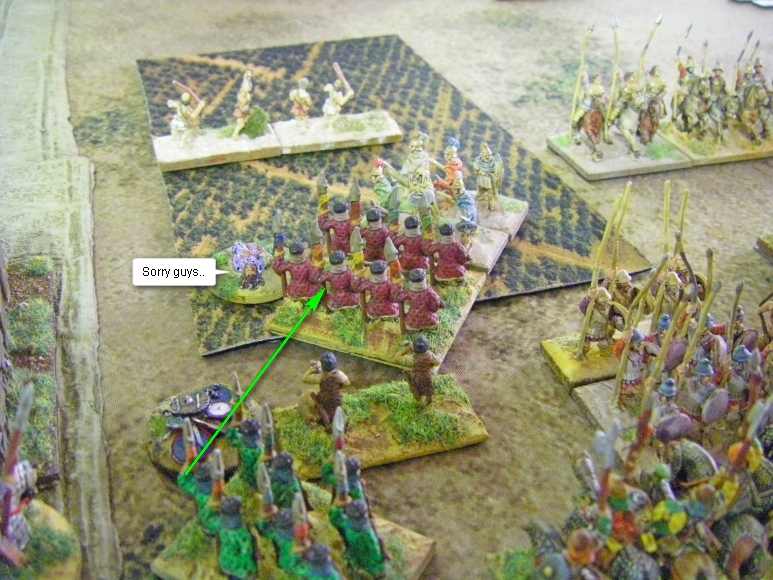
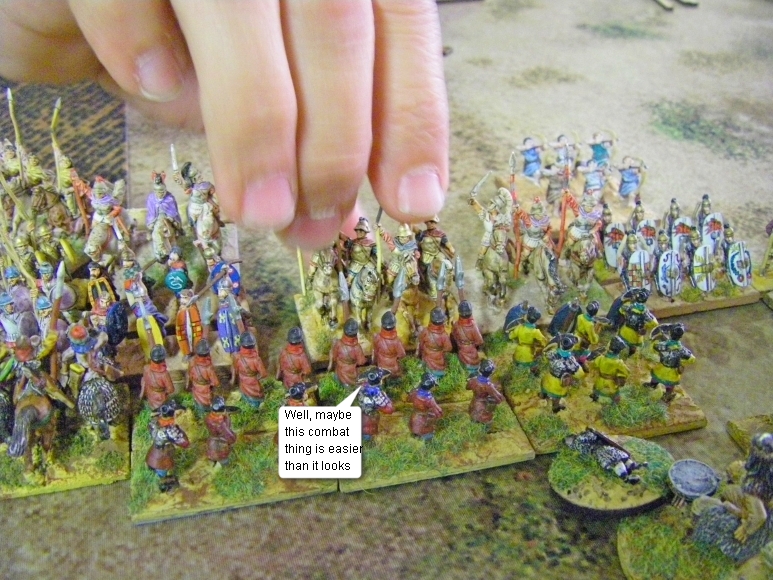
Left alone in the field anchoring the left hand end of their entire line was a lone, Average Medium Spearman - ideal target fodder for the hitherto deeply disappointing Elite Halberdier.
The Korean Guardsman charged home, with all the confidence that 2HW and Elite could give him... and promptly lost badly to pick up two hits.
Muppet!
L'Art de la Guerre, ADLG hint - 2HW troops get an extra +1 to allow them to effectively "win" ties against enemy spearmen and pikemen. This kicks in after quality modifiers (so, in this case the +1 for "elite" troops rolling 1,2 or 3) so should see the Halberdiers winning this combat easily most times its fought. But sadly not this one.
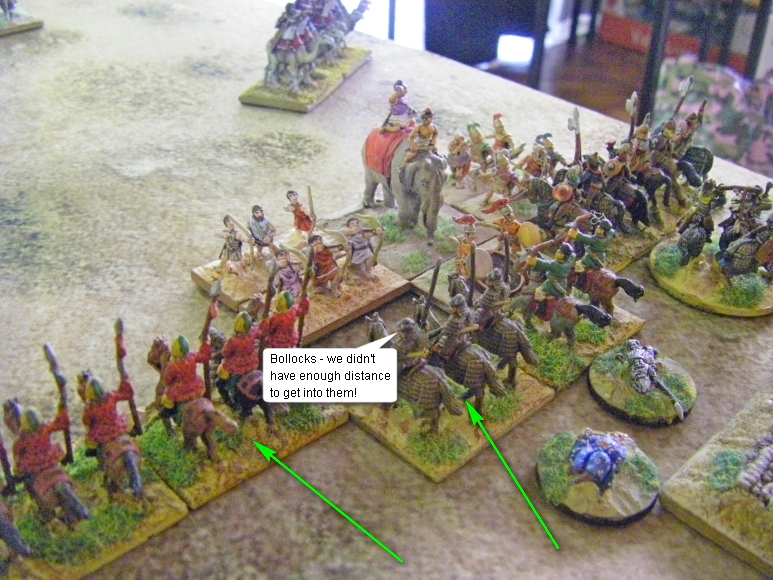
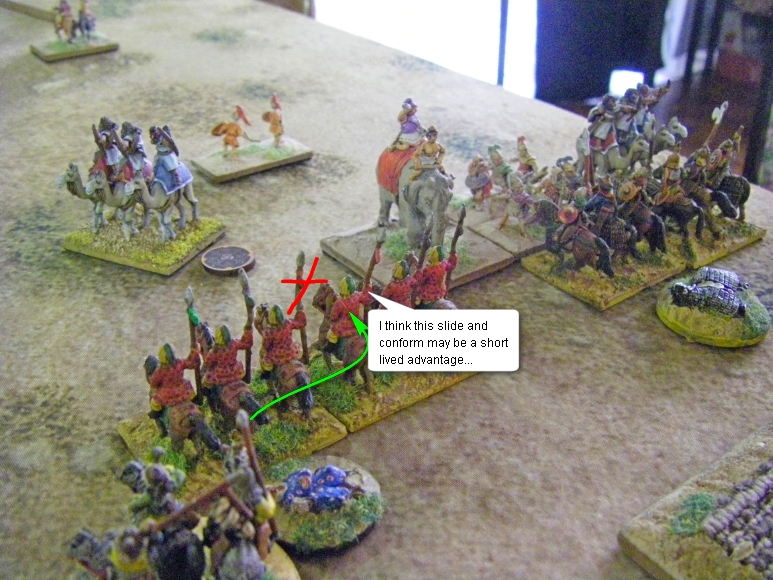
Due to some rather complicated and entirely accidental misalignment stuff the Seleucids found themselves unable to get into the Korean line exactly as they would have wished - in essence the Galatians on the left of the picture have the Cataphracts as their closest target, so would have to charge them rather than sliding across to hit the mixed formation of Korean spearmen - which they declined to do.
The upshot of this is that the Korean Cataphracts are fighting no-one and the other Galatian unit has gone in with an overlap against it against the mixed formation of Korean foot.
Korean Christmas themed Armour
From my Korean War Memorial Museum Page
The Korean flank attack was having an unsuccessful time against the enemy Death Star - the Korean horsemen had failed to break through and now the Seleucids were feeding more camelry-shaped trouble back into the line. This was now a part of the table where every possible combat would soon involve a -1 camel or elephant fear disadvantage for the Korean mounted wing.
The Galatians, rather irked clearly by the cowardice of their colleagues, decided to roll badly down, giving the Mixed Unit of Korean foot a surprising and substantial first round win! Maybe this soft Korean centre would stand up after all?
Decline of Joseon Korea
With the Galatians then swiftly despatched the Seleucids hurled another heavyweight - one of their Cataphracts - into the gap to try and force a breakthrough.
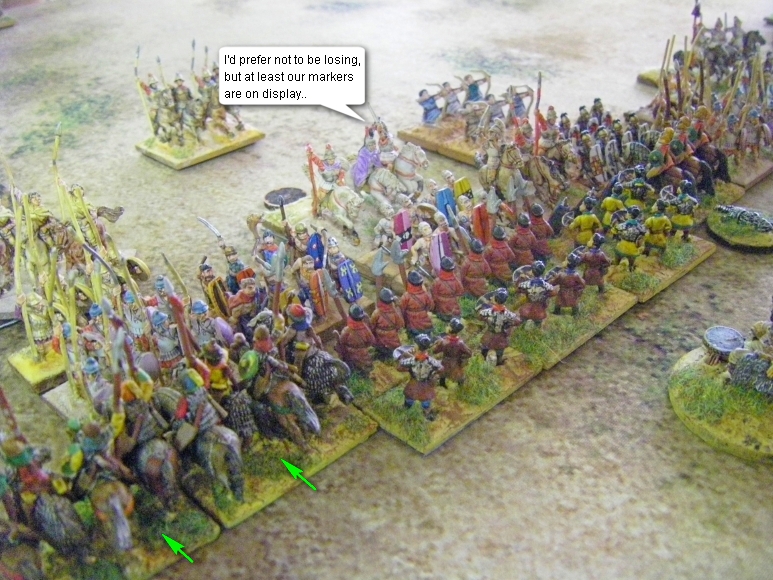
The struggle on the right flank was ongoing, as finally the Koreans started to punch something of a hole in the overly-resilient Successor line of scrimmage. But even as they did so casualties and hits were creeping upwards along the line, and many Korean units were in no real fit state to carry on fighting for much longer.
After a flurry of fighting the Mediorce quality Korean lancers were removed quite easily, and suddenly a whole commands-worth of combat-ready potent Seleucid troops were homing in on the right hand end of the Korean infantry centre. With carnage among the Korean cavalry and foot, the battle was as good as lost.
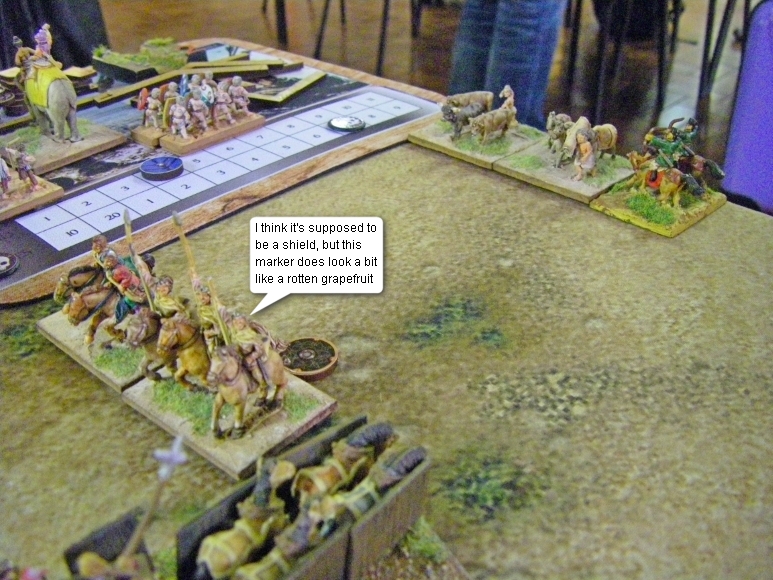
Unnoticed amongst the mess, the wagoneers had been steadily forging their way to the enemy camp, finally nicking a posse of pack mules as a scant consolation for a crushing defeat by an enemy who had ignored the Wagon train and just beat up the rest of the Korean army. The Result is a sadly inevitable defeat
Read on for the post match summaries from the Generals involved, as well as another episode of legendary expert analysis from Hannibal
Post Match Summary from the Koryo Korean Commander
 All good things come to an end, and it seems now that my one trick army will actually struggle to execute its one trick against a good and competent opponent who has, sadly, already seen and experienced the same one trick before, even through a mist of Guinness.
The composition of this Seleucid army was much wider and stodgier than I had anticipated, and the use of elephants to thicken a fairly mundane Death Star and use it as an anti-cavalry force on a flank seemed to be quite problematic, especially when combined with Camels too. No-one was getting round that flank, and with the other one protected the refusal of the waterway was something I just didn't anticipate at all
I am sure there is something else I could have done, perhaps take the second list - but having never used it before I honestly can't remember if it would have been any better. And wagons are very cool
On the way back home I will be flicking through the book of lists to see if there are any more wagon-tastic lists to be taken!
Hannibal's Post Match Analysis
 Look, lets face it, you are rubbish and your army was rubbish. One trick is sometimes enough for one game, maybe two - but it was due to come unstuck, especially against opponents who had already seen the trick in action
Yet again you made the same mistake in being wrong-footed at deplyment when using an army designed to wrong-foot the opposition at deplyment. And the static nature of your infantry and wagons meant that you had no real chance of shuffling the deck to change your plan after dropping stuff on table - essentially you lost this game at list design and deplyment, and the rest was as inevitable as it was painful to watch
To take a one trick list to a two list tournament is maybe viable, but to only use your one trick list is stupidity of the highest order.
Here you got what you deserved - nothing more, nothing less. A crushing defeat
Add your comments on these reports on the following forums
That's the end - so why not go back to the Match Reports Index and read some more reports?
You may also like....
Game 1 Koryo Korean vs Sui & Tang
Game 2 Koryo Korean vs Seleucid & Maccabean
Game 3 Koryo Korean vs Sassanid Persian
Game 4 Koryo Korean vs Northern & Southern Dynasties Chinese
Game 5 Koryo Korean vs Patrician Roman
Game 6 Koryo Korean vs Seleucid